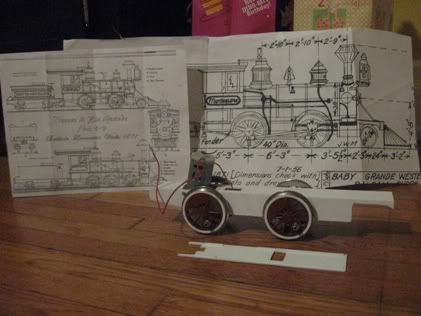
Christmas has come and gone, and the skeleton of an 1871 2-4-0 was very well received by a toddler as it raced around the tree. Still plenty of work to put into it, but I have resumed my On3 work.
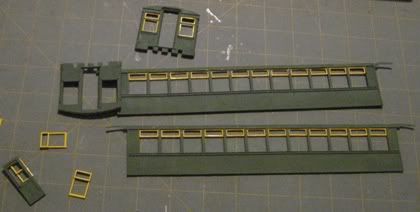
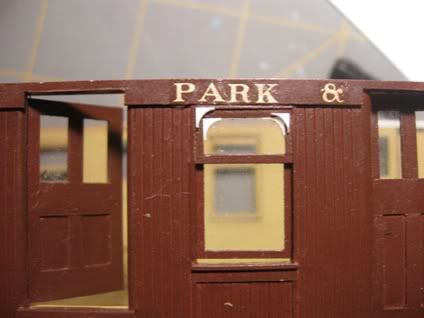
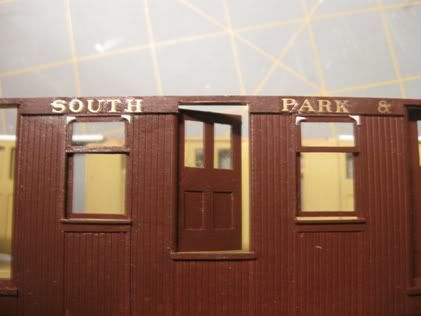
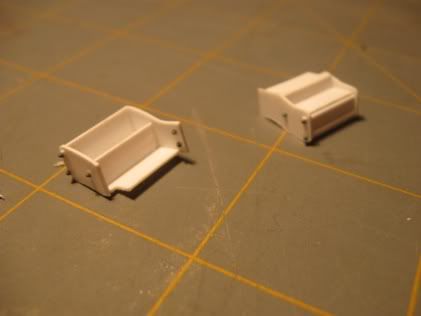
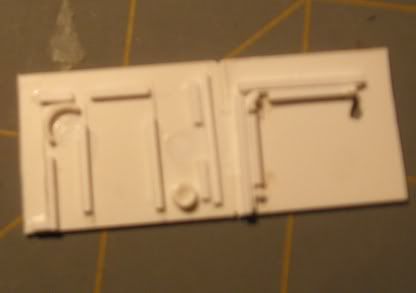
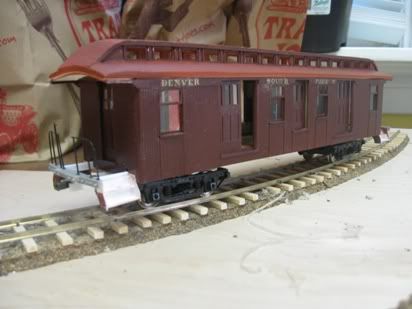
I chose to go 50/50 coach green/pullman green for the OR&L coach and I love it. I made the horrendous mistake (realizing it at the time) in going with Testor's yellow for the windows. I won't do that again. My air brush allows me to to a far better job than those spray cans. Regardless, it was acceptable with some brush touchups. So, I'm assembling the OR&L coach now.
For Christmas, I received a variety of goodies. I will be had pressed to resist the temptation to build my new Grandt Line stock car kit. I can do it in around 4-6hrs, but there are other projects I should give a higher priority to. I plan on building it as a truss rod car since I already have two with steel underframes. The excess parts will go to a C&S SUF boxcar.
Wednesday, December 29, 2010
Thursday, December 16, 2010
On3 work on hold
I'm currently engaged in the mad rush to get my son's 1:20.3 scale 2-4-0 built. I plan on resuming my On3 work (and blogging about it) after Christmas. It really isn't a good idea to perform 90% of the work on scratch building a locomotive in the 30 days leading up to when it needs to be done.
The decals will be from Stan Cedarleaf and are the same ones he developed with David Fletcher (mylargescale.com Masterclass Master Builder) for David's gorgeous model of the 1871 D&RG Shou-wa-no. The Shou-wa-no was one of the freight engines while the 2-4-0s were passenger power. The initial freight and passenger cars where four wheeled and more like LGB cars than the B-man, Aristocraft, and such.
Monday, November 8, 2010
Waiting game
I'm currently in the process of ordering some higher grade rubber for my molds. The prior stuff degraded too rapidly. I could start punching out OR&L kits, but I'd prefer to get my first car assembled first to see if anything needs to be changed. I ran out of primer, and so it is on hold until I can get to my LHS.
The South Park windows still need to be widened, but there isn't much sense in getting them ready prior to the arrival of the better rubber.
In the meantime, I resumed working on what I hope will be my son's Christmas present this year:
Again, the wheels and motor are from a junk B-man Big Hauler chassis I picked up on ebay. I started off building a Cooke 2-6-0, but decided that it would be a bit large for the tight curves it'll run around and so one of the D&RG's 1871 2-4-0s will be the engine. The particular motor/gearbox set included on the axle is know to strip over time, and so I have a simple modification planned to prevent it. I'm designing it with space for a sound decoder in the frame or in the firebox. I'll leave a space for the speaker in the smokebox (I can't stand sound coming from the speaker in larger scales). I probably won't add sound for a few years. To protect it, I'll exercise care in limiting the weight so that she'll prefer slipping to gear grinding...
Sunday, October 24, 2010
Window spacing?
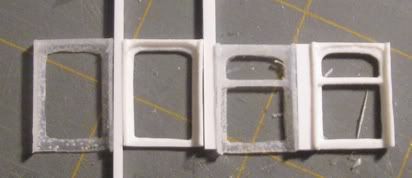
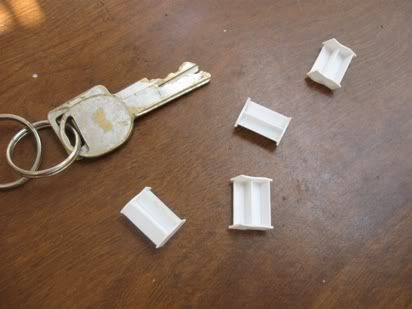
I used four reject windows to check the spacing:
The far right is 5" between the frames, and then 4" and 3" at left. I like 3" the best, but changing the spacing would force me to widen the windows to compensate or else there'll be too much space at the ends of the cars. I'll probably try wider windows with 4" posts and see how that looks.
My caster's regular work has picked up and so I'll be bringing the work in house. I'll have to decide if I want to get the Oahu Railway coaches into production now or get the South Park kits together first. I'll probably start producing the Oahu Railway coaches and then work on the South Park cars in between filling orders. The Oahu Railway kits are time consuming to cast...I don't see how most of these kits could be commercially viable if the pattern work wasn't donated (as a part of my regular hobby pursuits).
Monday, October 18, 2010
windows-765-CT
Sometimes, the pace of life really flies. I've been home two weekends in the past six weeks or so, and been sick both of them. Two of the other weekends, I had the pleasure of smelling coal smoke.
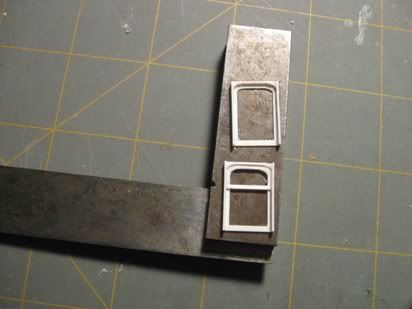
Here are my windows for the 1879 South Park 34' and 40' cars. The 34' cars have the single hung sash windows, the 40' chair cars get the single hung sash windows. I tried dozens of different arches (and different techniques to produce them)...these are the ones I like best.
----------------------------------------------
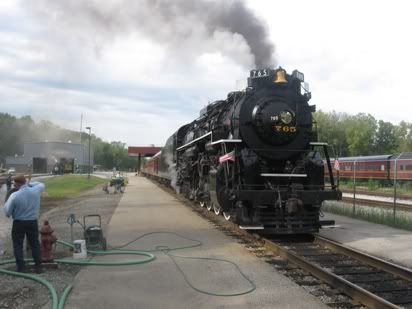
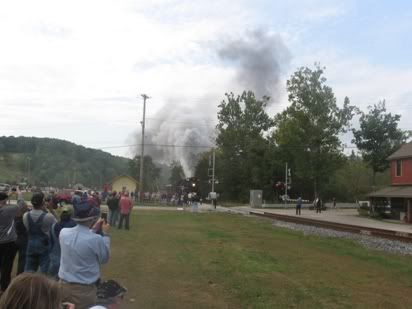
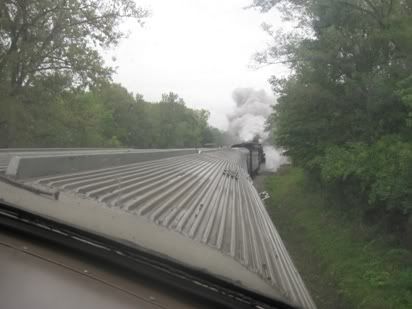
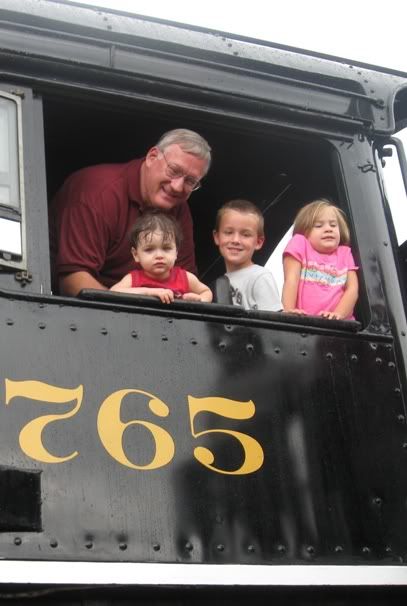
Back in mid-September, 765 ran a series of excursions on the Cuyahoga Valley Scenic (Cleveland to Canton...yes it is quite scenic). Currently, 765 is up in Michigan hauling some excursions (my dad called me last night to let me hear her...sounded like he was in the cab...lucky dog).
On the way up, I stopped by the 8th wonder of the world:
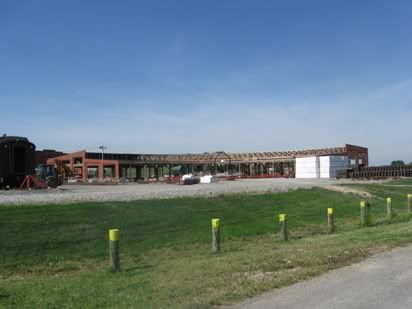
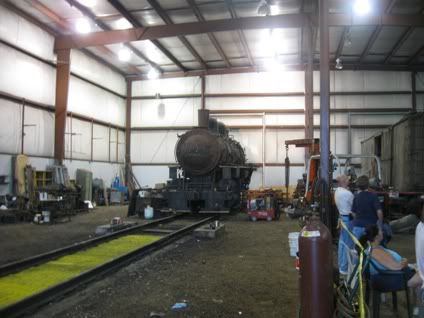
And then boarded 765 at the very nice CVSRR maintenance facility:
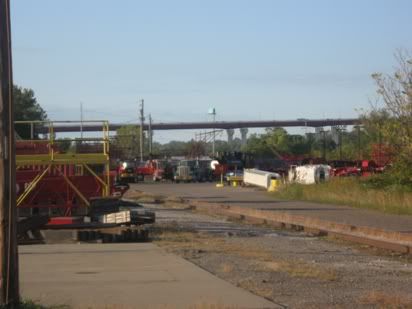
You can see the Viscose #6 who ran past with her two car train and then returned to the yards while we were waiting for clearance.
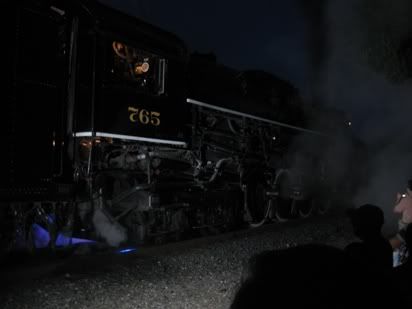
The photo run-by was after dark.
When we returned that night, the Viscoso engine was loaded on its flatbed and spent Sunday there as well.
The trip to Canton (passed the PF HoF) was very enjoyable.
765 looks pretty cool from the front of a dome car.
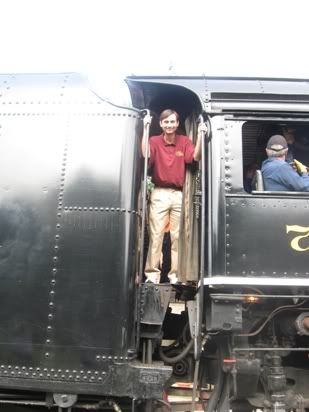
I had a brief cab ride on the main...always fun.
---------------------------------------------------
A week ago, we were in Hartford, CT for a wedding. Naturally, we made our way down to Essex for the Valley Railroad.
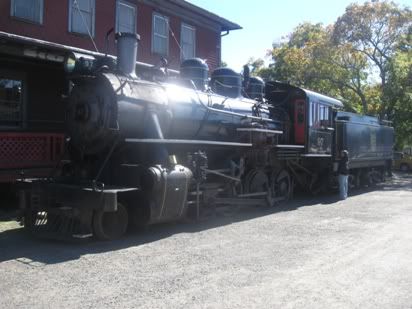
Their handsome 2-8-2 had a nice train of heavyweights. Considering that she has the tractive effort of a D&RGW K-36 and the size of a D&RGW K-28, not to mention the drivers and good looks of an EBT 2-8-2, I bet they have a level (but pretty) piece of railroad.
They had their handsome 2-8-0 in the well groomed yards.
I spotted their Chinese 2-8-2 drivers...but she was inside...
Saturday, October 16, 2010
Plan to post again
I have been very busy the past couple months. I have done some model railroading, but not really accomplished a whole lot. Haven't heard from my caster for a while...I need to find out how things are going. I can't get too far into the next few projects until he provides me with some feedback.
I've got some photos to upload from my trip to Cleveland a month ago...765 of the Cuyahoga Valley. Last weekend, I was up in the Hartford area and stopped by the Valley Railroad in Essex...so I have a couple photos from there as well...they were running their tiny but handsome 2-8-2.
Tuesday, August 24, 2010
Business organization
Today, I formed a partnership with a resin caster/mold maker. The circumstances are such where it will be a very mutually beneficial arrangement for him, myself, and potential customers. I will be free to spend more time doing what I'm best at: creating masters from styrene and brass while he handles the production. The result is that we'll be able to bring more models to the market and produce a greater quantity of them.
Next week he will start on the Oahu Railway coaches. I don't know if he'll use any of my molds, but I don't expect this to delay their release. It is also quite likely that I'll be passing him my 23' Colorado Central flatcar patterns. They are nearly ready, so I'll make a big push this week to finish them up. I'll also try to get gondola sides for them ready and maybe even get something else ready. If I can sell enough to keep him interested, then I'll continue to be free to focus on bringing more kits to the market.
In other news, I will be starting a job on Monday. I'm quite excited as it is a very good fit for me: a good company, good co-workers, a good project, uses my master's degree, and will help me earn my Professional Engineer's License. No longer being forced to focus on school, the job search, and being a stay at home dad (less fun than it sounds), I'll have more mental freedom to pursue modeling. Thank God!
Sunday, August 22, 2010
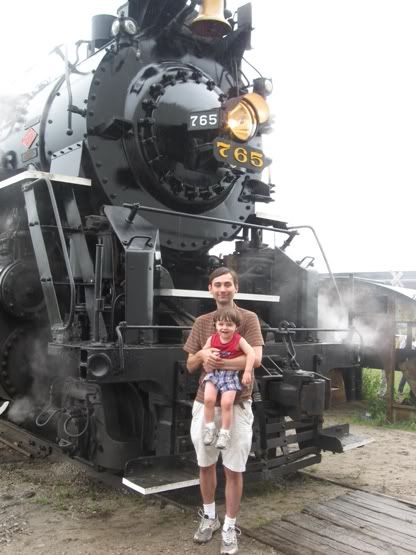
765 Open House
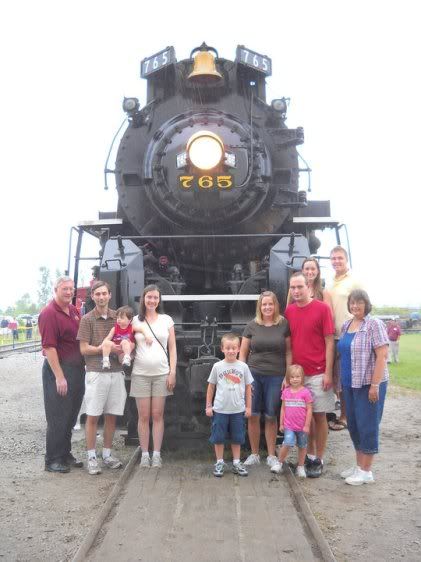
This weekend was the annual open house for the FWHRS, the NKP 765. My parents, my siblings, and our kids all made it up.
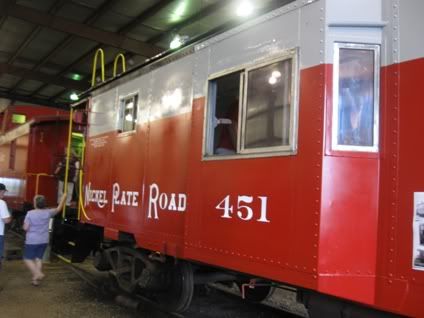
765 was under steam, and caboose rides behind the caboose were available. My little boy had a great time...he was not scared at all...even when the whistle was blown.
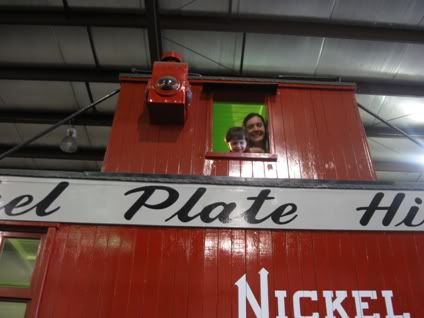
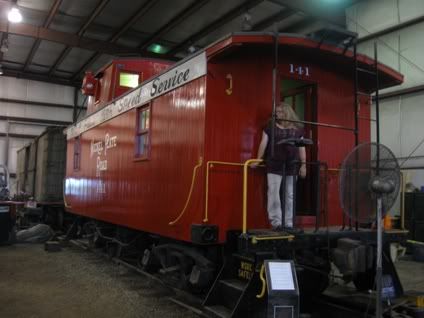
Liam and mommy enjoyed sitting in the cupola of my favorite caboose, the recently restored NKP #141.
After that, they road the cupola of the Wabash caboose during our caboose ride. He didn't care that it was raining, he stuck his head out the window and got drenched.
He was very enthusiastic about the "Gordie"...Gordie is derived from Thomas the Tank Engine's friend Gordon, an LNER A3 pacific (the Flying Scotsman).
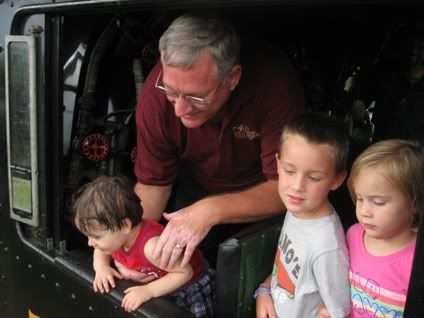
The president of the society (aka "dad"), arranged for our entire group to have a short cab ride. Liam sat on my lap in the pilot seat behind Rich Melvin as he preformed his familiar role and Liam looked out the window. His cousins were on the fireman's side (Jeff) where grandma took their photo. This was the first cab ride for Liam and my wife. It may have been my first steam cab ride in a decade or so. The cab is a fun place to ride...and Rich is always a pleasure to talk with.
A few other photos:
The Wabash 0-6-0 is now in the shop
The new NKP caboose. Built in 1962, four years after 765 was parked.
Our family photo.
-------------------------------------------------------------
Here's slightly larger rounded corners for the South Park cars:
I probably need to try a slightly larger radius, but they are looking better.
I'm currently learning the nuances of the detail part mold for my Oahu Railway coaches. I've managed to eliminate air bubbles...but my castings are coming out a touch thick...too thick of flash.
Sunday, August 15, 2010
Arched windows and grab iron bending jigs
The most challenging aspects of an accurate South Park (or, really, any prototype) passenger car is all in the details. Arched windows were the norm, and so they represent one of the more challenging aspects of building good models.
Tonight, I successfully produced the rounded corners needed...and in a manner which I can replicate them with precision.
Here is the result of my first attempt:
I'm probably going to make them a bit more pronounced than these...but the technique has been proven.
Additionally, here are the intriguing box steps for the Oahu Railway cars:
Note that a corner is missing out of each one...that is because steps actually run slightly under the end sill on the prototype.
And lastly, my grab iron bending jig for the Oahu Railway cars. The Oahu Railway used far more complicated grab irons that your typical passenger car. This jig should allow anyone to assemble them with just a little practice.
Thursday, August 12, 2010
The last detail parts for the OR&L coach
The last detail parts are under construction...and the difficult work is done.
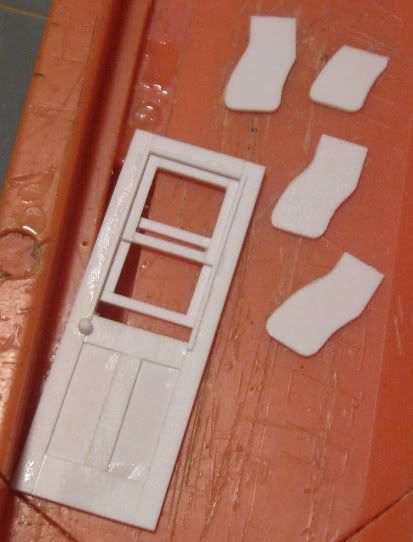
At left is the door with positionable window panes. It is accurate for these cars. The window frames are to be added by the modeler, so that they can be painted separate from the rest of the door. The other parts will form the box steps. On the prototype, the side of the steps next to the car do not attach in the normal fashion, instead they appear to bend 90 degrees and attach to the bottom of the frame. And so, I am making them in this fashion (hence, one of the three has already been shortened). I'll produce two box steps. Once they are ready, I'll prepare a mold for all of the miscellaneous detail parts (bolsters, steps, doors, etc) and cast enough duplicates to prepare the production molds for those parts.
There is a decent chance that my next post will be covering construction of South Park passenger car parts...imagine that, a blog titled "The South Park Line" actually doing something South Park related. The flexibility that I'll have with a 1940s Oahu Railway and an 1880s South Park Line will be beneficial once the layouts begin to take shape. There are so many difference between the two, they make a delightful pairing.
Tuesday, August 10, 2010
Window Spacing on South Park Passenger Cars
I've finally settled, after hours of studying photos, measuring photos, and performing calculations, on the window spacing which I'll be using.
Here are my rules:
#7&8 are identical
#6-8, #40-41, #45 have identical windows except for the number of panes of glass.
#6-8 have the same window spacing
#6 has little space between the last window and the corner molding
#6-8 have a space more than twice the width of the posts at each end
The equations are as follows:
for #6:
2e1+13w+12p=400
for #7-8:
2e2+15w+14p=476
There are a few additional equations based on the C&S folios, but the above are key.
e1 and e2 are the space at each end of the car, minus the corner molding
w is the window width
p is the post width
If e1=p=5", then w equals 25.38 and e2=12.5
Yep, I am an engineer...just not the fun kind which gets covered in soot.
That is confirmed by a drawing which was developed independently of me (thank you Dave).
Additionally, I've potentially developed my technique for simulating the tin metal roofs which were standard on 19th century narrow gauge (and SG) passenger cars. I'm looking forward to the OR&L cars reaching the market which will fund mold prep for the South Park cars. I think I'll do a few freight cars after I get these goodies on the market...freight cars don't require anywhere near the time and effort to prepare (although the unit cost isn't that much less).
Sunday, July 18, 2010
Pictures of goodies
The following photo shows the end beam, bolster, and needle beam.
The bolster is the steel variety used on the shop built 1st class coaches. The difficult to see needle beam is prototypical for these cars, just like the bolster and end beam. An additional trust rod runs the length of the needle beam with a pair of small queen posts in between the 12" queen posts for the truss rods running in between the bolsters. I ran across the name for this arrangement in the 1895 Car Builder's Dictionary, but it escapes me.
At the far end of the car is a second needle beam and bolster; they are appropriate for the Carter built products, shop built second-class coaches, and the head end equipment.
A better view of these is here:
The QPs are scratch built on these parts. While Grandt Line offers fine products, they don't have the correct QPs...their 3" variety has too wide of a base...and they offer no such part for passenger cars. I'm not a big fan of PSC's brass needle beam, nor is it correct for this car, and so my tastes have required building my own. I will be very pleased with these cars when they are ready...they won't be ready until I am so.
Saturday, July 17, 2010
Working on the details
I haven't completed much work this week. A very good pet died on Monday evening. He was a 5.5yr old cat. That left me bummed out and unable to really enjoy my hobby. He seemed to be perfectly fine until he collapsed and died...probably heart related. There were few things he enjoyed more than visiting my model railroad. Our surviving cat (6 yrs old) is also quite the railfan.
The bolster master for the shop built Oahu Railway coaches is essentially complete. The needlebeam is largely complete as well. Due to the effort it would require to fit the body bolster into the frame, I've decided that I'll add them to a new frame master to save much time and effort during assembly. In turn, I may release the Carter Bros coaches first since they'll use the existing frame mold. I already have the needlebeams for them well on their way and their bolsters were quite simple. The remaining parts consist of grab iron bending jigs, steps, and possibly brake parts.
With the Oahu Railway passenger cars nearly ready for production, I'm planning how to built DSP&P combine #6, chair cars #7-8, and baggage cars #40-41. They'll probably be next. I've been working on determining the width and spacing of the windows...a tricky task since #6 and #7-8 were different lengths.
Thursday, July 8, 2010
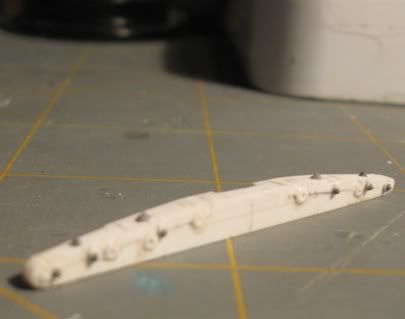
A couple photos of end beam
The OR&L end beam is coming along nicely. I added the gap on the bottom based on a photo of a wrecked coach (the same wreck that caused #87, sister to the surviving 4-6-0 #85). Every piece of hardware that should be there is there, except the ratchet and pawl for the brake shaft and a pair of brackets to be created. I want these to be good since they are the most noticeable detailed parts on the models. If I had to do this for every end beam on every car, I wouldn't do it. Glad the South Park cars won't need as much hardware on their end beams.
Friday, July 2, 2010
The belated June Update
The end of May and early June were fun. So much fun. Glad they are history. My life may now continue.
I've done a variety of things since my last update.
#1 I've been unhappy with the paint on a few of my models. I decided to take care of it. It is now more than 10 years since I started my HOn3 C&S reefer. Back then, I painted it boxcar red along with my boxcar, gondola, and caboose which were part of the same assembly line. As I started to place the decals, I noticed my mistake...it wasn't red. As I recall, I next gave it a way-too-heavy coat of white either with a brush or a spray can. Then I realized that it should be yellow and gave it too heavy of a coat with that. I stripped that off a year or so ago, only for the spray can to mess up the model. So, I stripped the paint off again. This time, I'll use my sweet Paasche VL air brush to give it an extremely thin and nice coat of yellow.
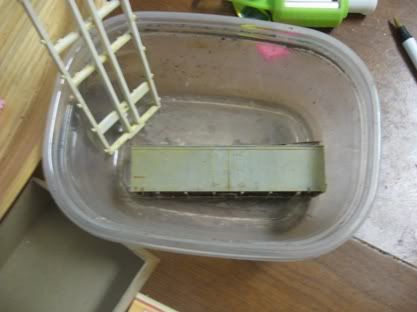
along with her is the frame from a 23' Colorado Central flatcar.
I was also quite unhappy with my first scratch built boxcar. It went from gorgeous to ugly when I applied the dry transfer lettering. I didn't quite get the lettering straight. The paint was also chipping, so it was time to strip it. I may upgrade her now that the paint is off...she has a few deficiencies. I did finally decide to mount the doors in the closed position.
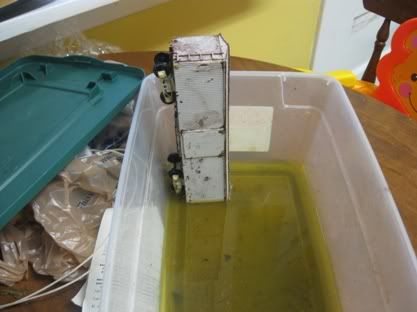
She's a DSP&P Barney & Smith boxcar
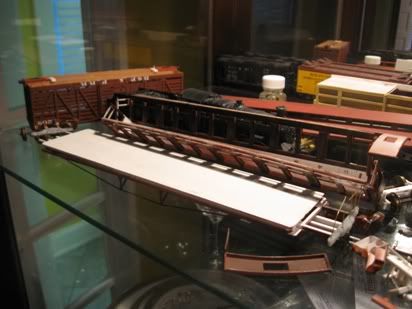
I managed to sand most of the paint off of my 26' DSP&P flat car's deck and primer-ed it up. I'm going to use a different technique as I know have masted an approach vastly superior to what I previously used.
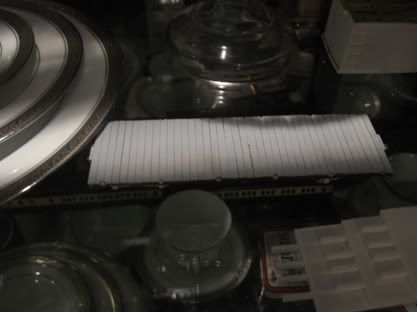
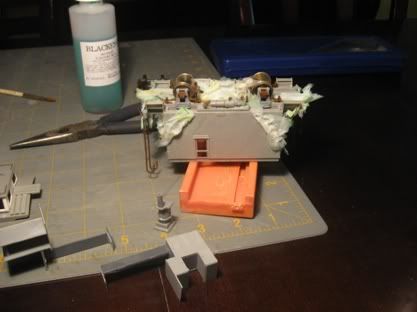
#2 I decided to prep my Grandt Line C&S coal car and caboose for painting. Since the grab irons were already added, I found a method to applying the chemical blackening agent to the grab irons without removing/damaging them. I wrapped paper towl/napkin around them and soaked it in chemical blackening agent. I then did the same thing to the cars which I'd stripped.
#3 My local NMRA chapter was supposed to have Hopper cars as the monthly contest. Well, the monthly contest was delayed, but I used the contest as an excuse to build that Nn3 hopper Lisa got me for Christmas a year ago.
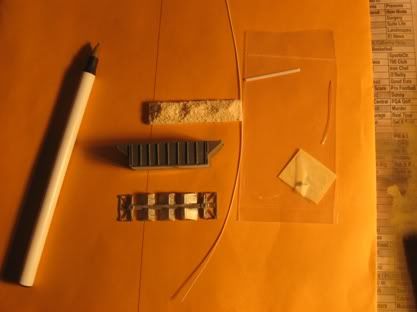
Here are the 0.010"x0.020" styrene bits I cut for the end platform, along with my "scratch built" brake cylinder and air reservoir:
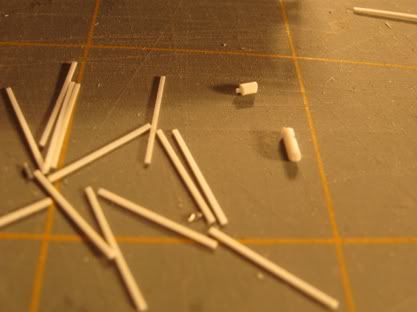
Compared to the car castings:
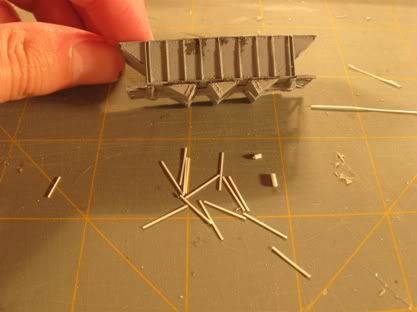
And the complete car in my hand along with my scratch built brake wheel platform and prototypical grab irons:
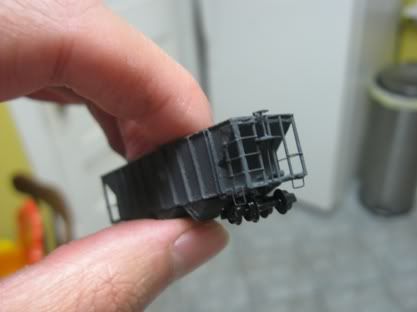
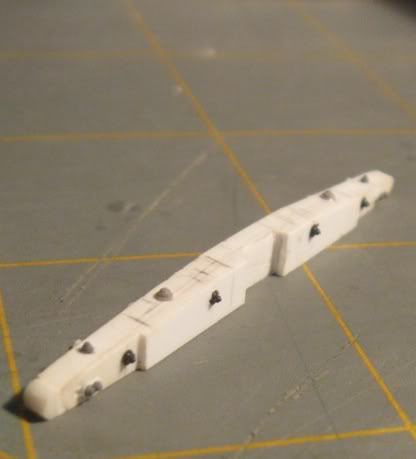
#4 Over a month ago, I cut/filed/carved an end beam for the Oahu Railway coaches. I was unhappy with the shape...it wasn't perfectly symmetrical. I finally got around to fabricating one. Instead of a single piece of styrene, this was is up to 11. The shape is precise...something I'm quite happy with.
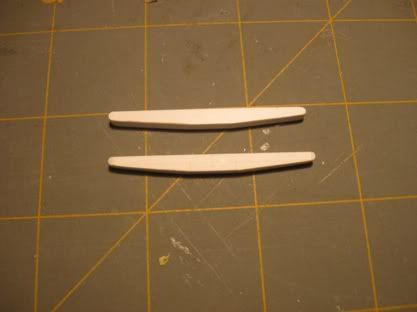
The good one is on the bottom
And the end view:
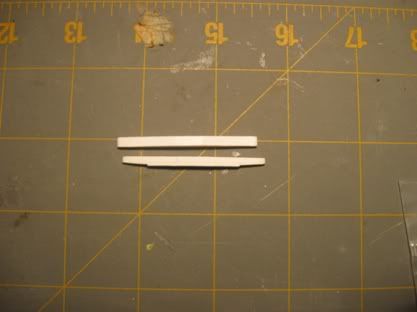
I need to add the various hardware bits to them.
Last weekend we met my parents and my brother's family at Carillon Park in Dayton for their annual train festival. It is one heck of a museum. This year we made it into the building which houses the 1905 Wright Flyer III...it was the first air plane in the world which could turn...it is more original than any of the 19th century steam engines left in Colorado!
One of the live steamers had a South Park mogul:
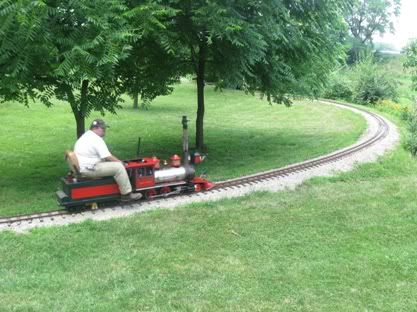
I doubt he knew what it was, but I could clearly tell. He just had it painted wrong and evidently didn't want to pay the royalties on the Cogdon stack ;-)
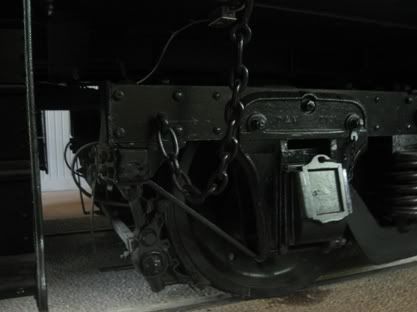
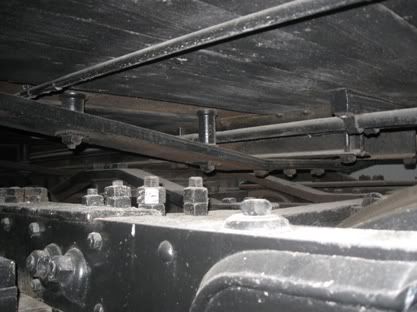
Here are a couple photos of the body bolster and truck pedestal of their 190X Barney & Smith coach/observation car:
Monday, June 21, 2010
Still alive, updates coming
I've been through hell with an aborted attempt at graduation (my degree has been finished since early May, but paperwork has kept me busy and delayed my graduation).
I'll have an update soon. I'll be uploading photos of a side project involving an Nn3 hopper car and then some work on the South Park passenger car kits. I have enough info to complete the Oahu Railway coach masters.
Wednesday, May 19, 2010
First floor out of the mold
I ran out of my primary rubber while making the mold for this. I had just enough material in all the right places for the mold to be usable. For subsequent parts (platform end sills, platform decking, needle beams, and car bolsters), I'll be forced to use a more expensive platinum cure rubber which I have on hand.
The first casting out of the mold is a scale 7" thick and has a little trouble where I inadvertently damaged the flooring in a couple places. This was because I wasn't very careful despite the fact that the part hadn't yet fully cured. Because of the size of this mold, I need to modify my casting set up, and then I ought to be able to get it down to my desired 6.5" thickness.
My present research is into the most probably WABCo products used on the Oahu Railway cars from 1889 until the end. I'm using trade journals, WABCo catalogs (1886, 1890, 1900), John H. White Jr's books, and Car Builders Dictionaries (1879, 1888, 1895, 1906). I'm counting on my Oahu Railway friend Jeff to provide enough information on the brakes under #2 for me to identify them (they look to me like the Quick Action air brakes due to the shape of the triple valve and lack of multiple air tanks). I'm expecting 8" cylinders.
Saturday, May 8, 2010
Truss-rod & Bolster configurations on OR&L Passenger cars
I've been studying many photos of Oahu Railway coaches, surviving and deceased, for clues as to sort out the truss-rod and bolster details.
So far, I've learned a few things.
The shop built clerestory coaches (such as my kit) had the customary two truss-rods which connected to truss-rod irons at or just before the bolsters. The body bolsters were the common type, metal plates, presumably attached to the side sill (I have yet to find a photo showing the bolster-side sill arrangement for these).
The arched roof cars, as well as shop-built clerestory combine #36, and the observation cars Pearl (Carter built) and #64 had wood body-bolsters with truss-rod washers. The body truss-rods ran from end sill to end sill with square washers visible. #64 has more than two truss-rods...probably 4...which is peculiar for a car that never need to haul much weight nor have other cars behind it.
I haven't yet come to any conclusions about the Carter built coaches (3, 11, & 12) and combines (38 & 39).
I'm going to ponder these questions, perhaps ask around, and try to make sense of it. My gut says that the truss-rods connected to the end sills were a sufficiently stronger/better arrangement that they could get away with wood bolsters.
In the past week my preferred local hobby shop as moved out from under its former toy store roof (Johnny's) and become a stand alone store: Tim's Trains & Hobbies. Today, my friend Pat and I visited. I picked up a number of sizes of styrene needed for building Oahu Railway freight cars. In general, Oahu Railway freight cars used sills of twice the size of South Park cars (for which my "lumber yard" was stocked). Afterwards, we stopped by an open house at the local RR Museum (a collection of private cars in poor repair) and toured ubiquitous Cascade as well as a 10-1-2. For those not familiar with Pullman cars, Cascades were sleeping cars built by Pullman starting in 1938 with 10 Roomettes (single rooms) and 5 double rooms. A 10-1-2 was a heavyweight sleeper (1920-1935).
Thursday, May 6, 2010
Oahu Framing
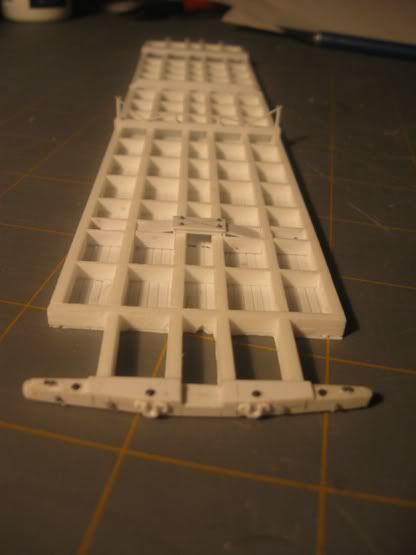
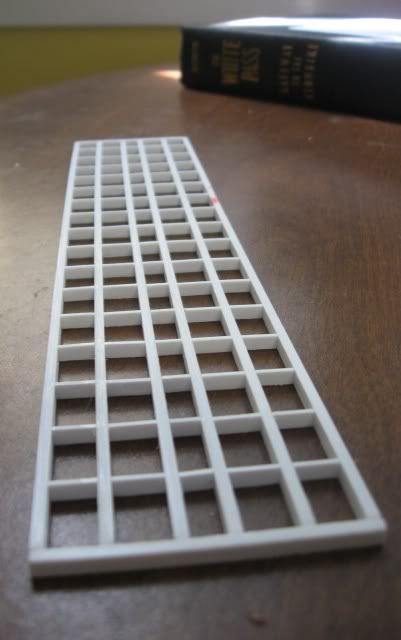
The shop-built Oahu Railway coaches didn't have ceilings (sheathing under the framing). Accordingly, I consider it important to have a prototypical frame under the cars which is consistent with that under the surviving coaches.
The red mark is the result of my toddler and his red crayon...I'll remove it before the mold is made. Every visible surface on the frame has been textured with wood grain. I'm in the process of researching the hardware that goes on it (and what can be cast in-situ). I've identified two bolster types, but not been able to clearly determine if one style was specific to Carter built cars or shop built cars. I do think that the Carter built cars and #64 had ceilings (#64 definitely did).
I've temporarily cleared my workspace and filled it with grad school stuff in my attempt to gain freedom for hell (grad school).
Wednesday, April 28, 2010
The cons of contests
It is hard to believe that it has been 2.5 weeks since my last post. I'd planned to do so after the NMRA meeting, but that was delayed.
There was an incident with one of my entries (1st place, scratchbuilt). Someone managed to send it to the floor...and with its 1/2lb+ worth of weight, it landed hard. I'd requested a photo from one of the guys whom was taking such photos, but he hasn't returned my email (which is always annoying for someone like me whom strongly prefers email to phones). I was going to post once he sent me his photo...or at least gave me a response. (Edit: he was out of town, and isn't quite as addicted to email as I am)
Here's what the car looks like:
Isn't that pretty? It actually won't take me too long. I only used the PSC end beams because I was short on time and I hastily created the brass end rails. All were supposed to be temporary...and now they've been crushed. The body generally broke cleanly. Had the frame been attached to the body, I have no clue as to how she would have done (probably worse). Most of the steps were knocked off. Fortunately, the scratch built styrene roof was unscathed. Thank God. I'm planning a new display track which will anchor the cars so that such accidents can't happen.
In other news, I built a set of box step masters which were based on the 1879 South Park passenger car box steps. I did that on Thursday or so of the NMRA week. The mold was completed on Saturday morning and the first set of castings came out fine.
Here are the masters, prior to adding the hardware.
Here's what they look like on the baggage car. No, they aren't crooked...it's just the photo. It is actually a terrible photo of that car...a quick snapshot. The roof had smearing issues as I hastily painted it at 1am before the NMRA contest. The stuff I used, evidently, smears horribly even after it is dry...thank you Testors for reformulating Floquil!
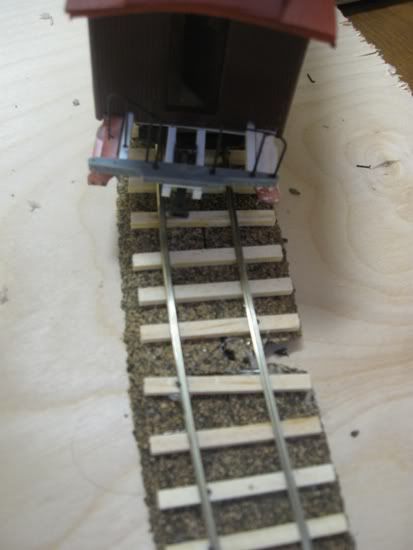
The car is sitting on my new test track. I decided that it would be a good idea to evaluate this:
That's the overhang on a 36"R curve. Much better than the 27" and 30" curves of my existing, temporary layout. I'm looking to go with 42" as a minimum mainline radius for my future OR&L layout and either 42" or 36" min. main. rad. for my South Park line. My test board has the roadbed in place for 42"R and a line marked for 48"R. My layout, of course, handles 27"R and 30"R testing.
I'm probably going to see about modifying McHenry's HO talgo couplers into Link & Pin couplers for my passenger cars. They are about the same size and close in shape to the South Park's L&Ps. For my Oahu Railway cars, I'll be using Knuckle couplers so it won't be an issue (possibly PSC's brass couplers or some other non-Kadee couplers).
I managed to lay that track in a short time before dinner. I used a hot glue gun so that I didn't have to wait before spiking. Obviously, it isn't a good approach for a layout...but it worked well enough for track that won't be carrying trains.
I think I'm going to go ahead and build my master frame for the Oahu Railway coaches...I don't know when the photos will arrive, but I know the dimensions and spacing...so I can build it accurately.
Subscribe to:
Posts (Atom)