Tuesday, April 28, 2009

Motors, cylinders, and other frames.

The camera is back in service. The motors arrived yesterday. Motorman is definitely going to be my supplier of motors for the future. Excellent products at excellent prices!

The 2-8-0 runs magnificently with the surplus Maxon coreless 2232 installed. Not bad for $15 (retail it would be more like $150). It has enough power to slip like a real locomotive if your are too aggressive with the throttle. It coasts for more than a foot at moderate speeds when the power is cut. I calculated its minimum speed at under 0.1 mph. I have never run such a nice locomotive before.

I've also elected to use a 2522 and a Canon can motor in my #1 and #2 NKP hudsons respectively...the shaft speed was too great for the current gearing in my hudsons (or at least I think it is).

I've also made progress on my cylinder block. The cylinders themselves are close to ready.
Photobucket

Liam's 2-6-0 rods are ready for testing. The frame needs a small adjustment as the lead driver sits 0.050" too far forwards...
Photobucket

Thursday, April 23, 2009

Frame 3.0

I kept tweaking the frame...even though it was fairly smooth...as I noticed an occasional bind. I tried filing it a bit, but the performance degraded. I decided last night to build a new jig and start over on the frame. I'm convinced that the old frame was slightly off being square. The new frame is more precise, more robust, and square. I also made this one 0.020" wider to deal with one of my other gripes with the old one.

Another change was that I decided to reverse the #2 & #3 drivers due to the old #3 having a slightly recessed crankpin. I decided that it would be nice to have that on the main crankpin...so I decided to moved it to the #2 spot. This caused a potential issue with a support and the gear on the new #3 driver. I dealt with this by removing the gear with my gear puller. This led to me having to requarter this driver. My NWSL Quarterer I couldn't handle the axles (I believe that I previously mentioned this). Accordingly, I couldn't be certain that some of my troubles weren't due to quartering. So, I got out my trusty jeweler's saw and modified my quarterer to accept the axles. I then quartered every driver precisely.

Now, it is completely bind free...very smooth. That means that I need to get the cylinders and main rods together. If that works smoothly, it will be ready for the motor and for detailing. I want to have it running flawlessly before I begin the comestic work. (this saved me quite a bit by being able to junk the old frame without losing effort spent on detailing).

My camera is temporarily out of action, but in a future post I'll have photos of my new jig, modified quarterer, and new frame.

Monday, April 20, 2009

Rough cut rods

Here are the rods so far. They have been roughly cut...a few modifications are needed. I'm also planning to add some details such as bolts, thickness variations, and such.

Photobucket

I want this locomotive to be as well detailed as my rolling stock...and so it must rival or exceed the level of detail of a Japanese-built brass import.

Sunday, April 19, 2009

2-8-0 mechanism 1

I am one update behind on my trestle progress. I have 120' scale feet of trestle deck completed...and I'm sick of it. I was originally planning for another 15', but probably will stop there. I've also built a bent jig and cut much of the wood for the bents.

In the mean time, the gearbox I'd ordered for my 2-8-0 arrived this past Friday. On Friday evening, worked on it a little. I discovered one problem...it won't fit on the axles BLI drivers. Because they are a split axle design (each half of the axle is of the opposite polarity with an insulator in between), I couldn't just replace it with a brass rod. Instead, I made a trip to my LHS on Saturday and purchased some 1/8" styrene rod. When I got home, I discovered that it wouldn't just slip into the gear and driver centers...they need 3mm axles which are just slightly smaller. So, I chucked up some styrene rod in my drill and turned it down to size with a file (actually an emery board)...
Photobucket

Once my caliper verified the diameter to be correct, I pushed on the gear, the bearings, and the driver centers.
Photobucket
I quartered it in my NWSL Quartering tool.

Another change I made was to get out my jeweler's saw and hack off the...the...at a loss for the correct word here...part of the crankpin which sticks out, but it is oversized on these drivers and therefore prohibited the use of scale side rods (it was wider than the rod that is supposed to fit around it). Here is the main driver in the process of getting hacked up:
Photobucket

After I made those changes, I decided that it was time to prepare new side rod blanks...this time from styrene...for the rods. The ends will be 6"x3"x15"...the location of the #3 driver will be 7"x3"x"15", at the main crankpin it will be 7.5"x3"x15", in between #1 & #2...and #3 & #4 it will be 2"x3.5", and between #2 & #3 it will be 2"x4". They will look great (and they perform well from testing).

Here are the new blanks on the drivers with the gearbox installed.
Photobucket

The gearbox will be completely hidden in the firebox. The motor will be in the boiler above the #2 & #3 drivers. I ordered it today...a Maxon 2232 Coreless motor for $20. The new drive train has cost me $36...$20 less than the previous motor alone. I've also ordered a 2232 for my beloved Nickel Plate hudson. Mine will be #175...the real NKP #170 is sitting in St. Louis...here

Wednesday, April 8, 2009

Trestle Construction

I finally go around to finishing up the bench work this past weekend, and have now begun building the trestle. The Deck is 2/3 completed, with the parts for the rest awaiting assembly.

Photobucket

I'm currently cutting pieces for the bents. I have built jigs for cutting and assembling the pieces.

Here are my jigs:
Photobucket
deck tie spacing

Photobucket
Trestle bent legs

Photobucket
Deck stringers

Photobucket
And a collection of cut parts.

I'm using basswood. First, I stain it Miniwax Pine. I then stain it with diluted india ink. Some of the pieces are stained with similar colors to provide a bit of variety.

I also had the pleasure of my copy of Sloan's Narrow Gauge Data Book arriving. What as resource! I'm most intrigued by a couple Carson & Colorado cars. Great stuff!

Wednesday, April 1, 2009

On2 too

I was running low on medium spikes and decided to try micro spikes again. They certainly have their deficiencies, but I really like the look.

Here are some medium spikes...
Photobucket

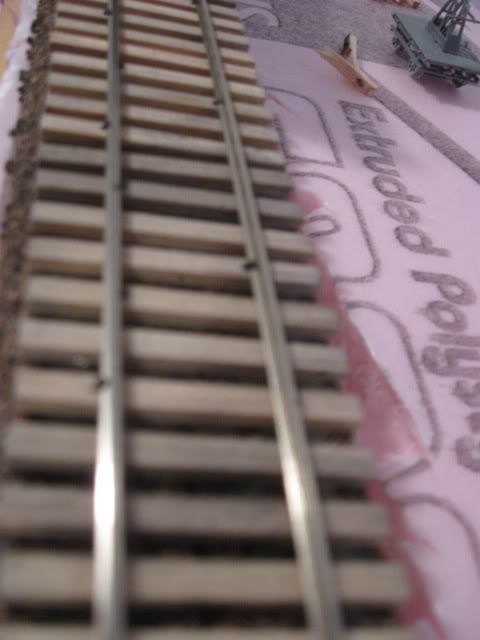
Here are some micro spikes...4 per tie...
Photobucket
Photobucket

I definitely like it much better.

I also ran out of ties, and so I began cutting down switch ties. I decided to keep the scrap materials as I've flirted with adding a bit of On2 at some point...maybe just 12" of track below my trestle.

Today, I stopped by my LHS and picked up more bridge supplies, a DSP&P push car!!!, and a piece of N scale Code 55 flex track. I snipped off a couple lengths of the Code 55 rail and spiked it to the scrap ties using micro spikes...On2 track! I might make a provision for several feet of On2 in my town. I won't be adding the On2 track now, just adding the necessary supports for it.

Here's the DSP&P push car kit...
Photobucket
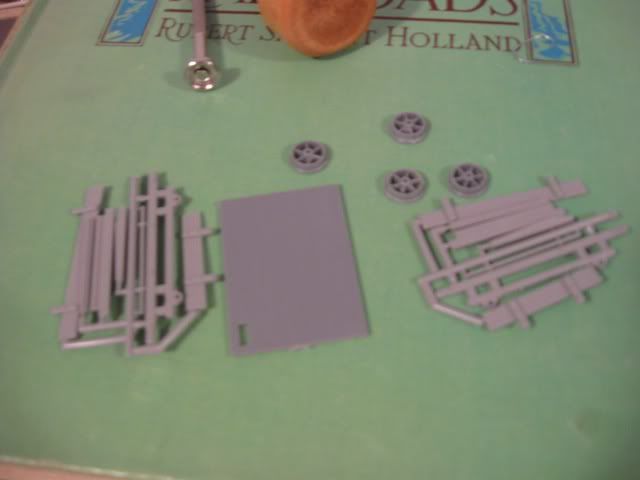
It'll look great with my PSC hand car.

Photobucket
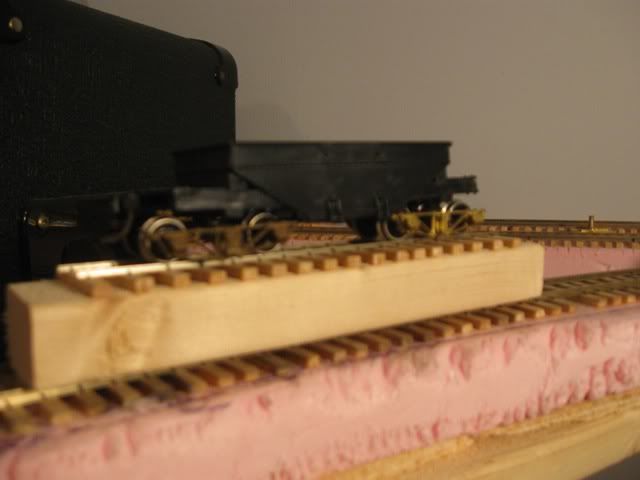
An On2 Grandt Line Gilpin Gold Tram car sitting on Coronado's Gilpin On2 trucks...sitting on the On2 test track. The spikes, gauge, and tiny rail work fine together.

Here's a comparison of N scale flex track, HOn3 track I laid when I was 16, the new On2 track, and On3 track.
Photobucket

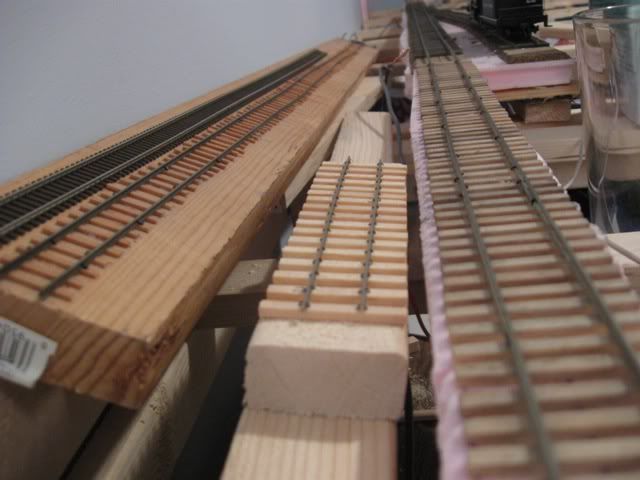
Here's the same but with a piece of HO track sitting there to give an idea of how On30 looks alongside On2 and On3. It is a terrible stand in for On2!
Photobucket

I have a B-man 8ton On30 porter which I'll convert to On2, and later I'll also add a 2-truck shay. I don't care much for Maine Porters...and I think that the gorgeous Maine 2-6-2 is too large for what little track I'll have. But I won't be adding any On2 for some time.

I really like the look of the micro spikes...and I presume that I could combine them with some tie plates I have. My track would look great, but that would be a ton of work. I'll need to find either better micro spikes or a better set of pliers for spiking them down. With medium spikes, I have other tools which I use instead of pliers.

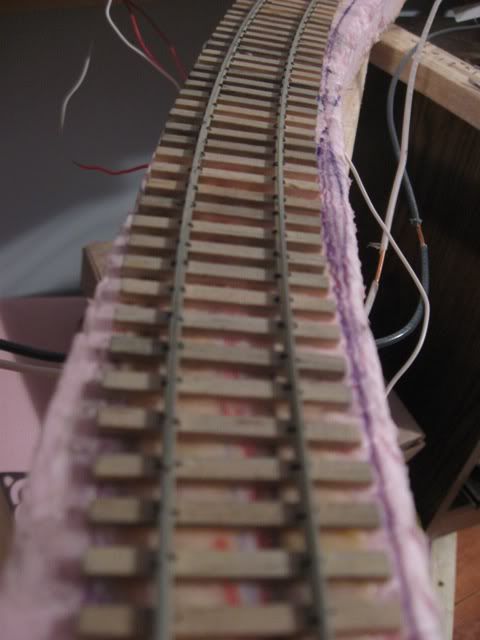
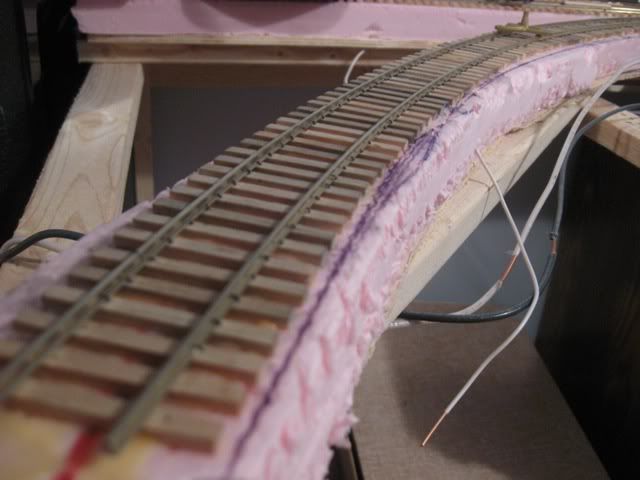
I also textures some of the ties and gave them a little bit for India ink & alcohol staining.

I've built a model of my model railroad and picked up some cheap clay to experiment with the scenery which I'll be starting soon...
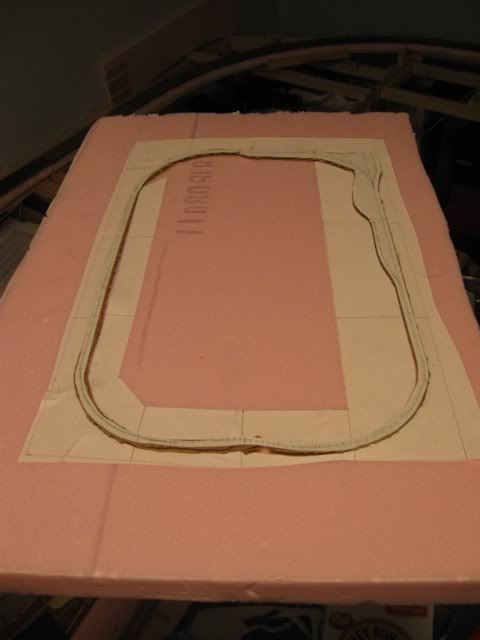
Photobucket
It is 1/12th scale.