The end of May and early June were fun. So much fun. Glad they are history. My life may now continue.
I've done a variety of things since my last update.
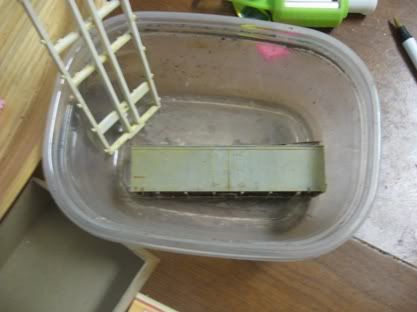
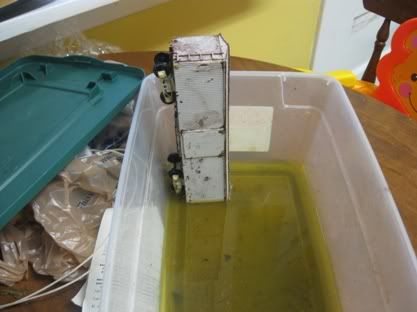
#1 I've been unhappy with the paint on a few of my models. I decided to take care of it. It is now more than 10 years since I started my HOn3 C&S reefer. Back then, I painted it boxcar red along with my boxcar, gondola, and caboose which were part of the same assembly line. As I started to place the decals, I noticed my mistake...it wasn't red. As I recall, I next gave it a way-too-heavy coat of white either with a brush or a spray can. Then I realized that it should be yellow and gave it too heavy of a coat with that. I stripped that off a year or so ago, only for the spray can to mess up the model. So, I stripped the paint off again. This time, I'll use my sweet Paasche VL air brush to give it an extremely thin and nice coat of yellow.
along with her is the frame from a 23' Colorado Central flatcar.
I was also quite unhappy with my first scratch built boxcar. It went from gorgeous to ugly when I applied the dry transfer lettering. I didn't quite get the lettering straight. The paint was also chipping, so it was time to strip it. I may upgrade her now that the paint is off...she has a few deficiencies. I did finally decide to mount the doors in the closed position.
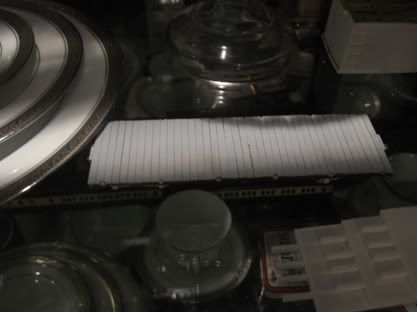
She's a DSP&P Barney & Smith boxcar
I managed to sand most of the paint off of my 26' DSP&P flat car's deck and primer-ed it up. I'm going to use a different technique as I know have masted an approach vastly superior to what I previously used.
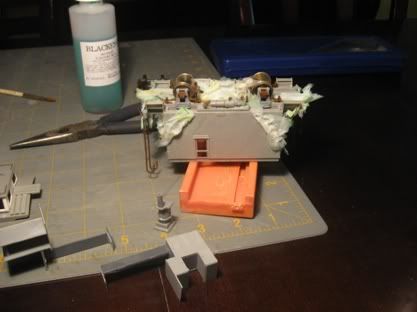
#2 I decided to prep my Grandt Line C&S coal car and caboose for painting. Since the grab irons were already added, I found a method to applying the chemical blackening agent to the grab irons without removing/damaging them. I wrapped paper towl/napkin around them and soaked it in chemical blackening agent. I then did the same thing to the cars which I'd stripped.
#3 My local NMRA chapter was supposed to have Hopper cars as the monthly contest. Well, the monthly contest was delayed, but I used the contest as an excuse to build that Nn3 hopper Lisa got me for Christmas a year ago.
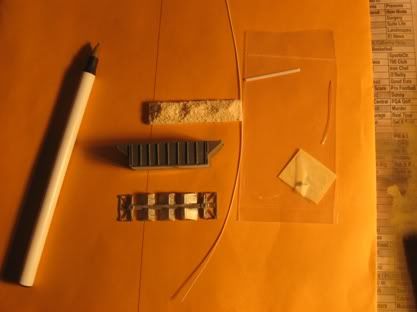
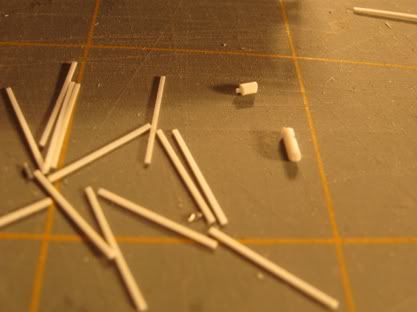
Here are the 0.010"x0.020" styrene bits I cut for the end platform, along with my "scratch built" brake cylinder and air reservoir:
Compared to the car castings:
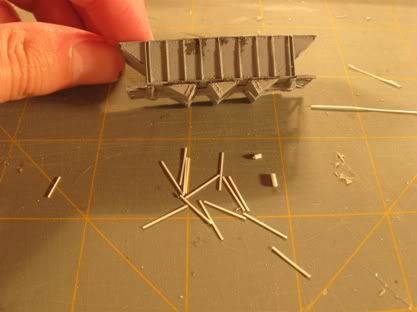
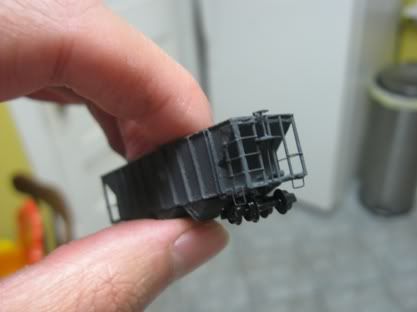
And the complete car in my hand along with my scratch built brake wheel platform and prototypical grab irons:
#4 Over a month ago, I cut/filed/carved an end beam for the Oahu Railway coaches. I was unhappy with the shape...it wasn't perfectly symmetrical. I finally got around to fabricating one. Instead of a single piece of styrene, this was is up to 11. The shape is precise...something I'm quite happy with.
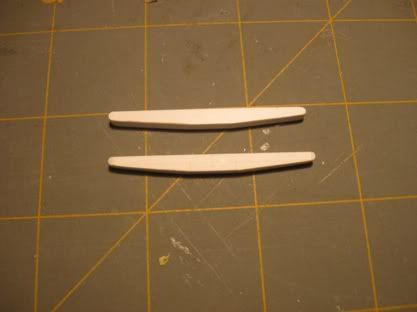
The good one is on the bottom
And the end view:
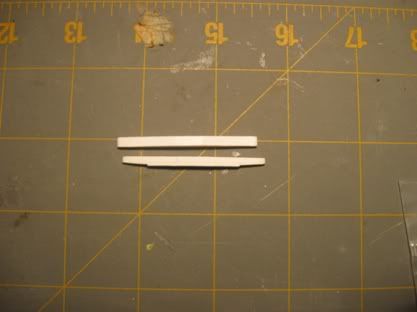
I need to add the various hardware bits to them.
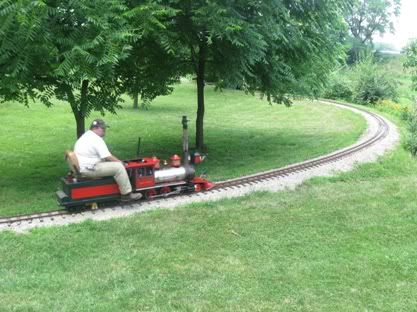
Last weekend we met my parents and my brother's family at Carillon Park in Dayton for their annual train festival. It is one heck of a museum. This year we made it into the building which houses the 1905 Wright Flyer III...it was the first air plane in the world which could turn...it is more original than any of the 19th century steam engines left in Colorado!
One of the live steamers had a South Park mogul:
I doubt he knew what it was, but I could clearly tell. He just had it painted wrong and evidently didn't want to pay the royalties on the Cogdon stack ;-)
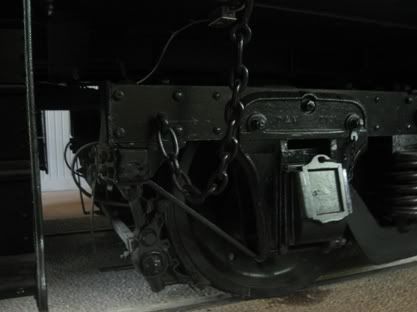
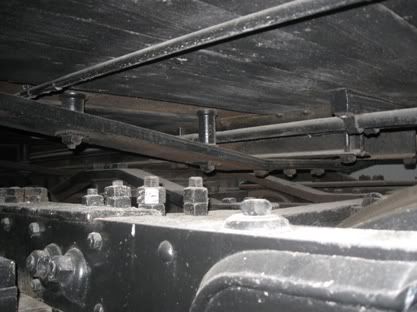
Here are a couple photos of the body bolster and truck pedestal of their 190X Barney & Smith coach/observation car: