Tuesday, August 24, 2010

Business organization

Today, I formed a partnership with a resin caster/mold maker. The circumstances are such where it will be a very mutually beneficial arrangement for him, myself, and potential customers. I will be free to spend more time doing what I'm best at: creating masters from styrene and brass while he handles the production. The result is that we'll be able to bring more models to the market and produce a greater quantity of them.

Next week he will start on the Oahu Railway coaches. I don't know if he'll use any of my molds, but I don't expect this to delay their release. It is also quite likely that I'll be passing him my 23' Colorado Central flatcar patterns. They are nearly ready, so I'll make a big push this week to finish them up. I'll also try to get gondola sides for them ready and maybe even get something else ready. If I can sell enough to keep him interested, then I'll continue to be free to focus on bringing more kits to the market.

In other news, I will be starting a job on Monday. I'm quite excited as it is a very good fit for me: a good company, good co-workers, a good project, uses my master's degree, and will help me earn my Professional Engineer's License. No longer being forced to focus on school, the job search, and being a stay at home dad (less fun than it sounds), I'll have more mental freedom to pursue modeling. Thank God!
Sunday, August 22, 2010

765 Open House

This weekend was the annual open house for the FWHRS, the NKP 765. My parents, my siblings, and our kids all made it up.

Photobucket
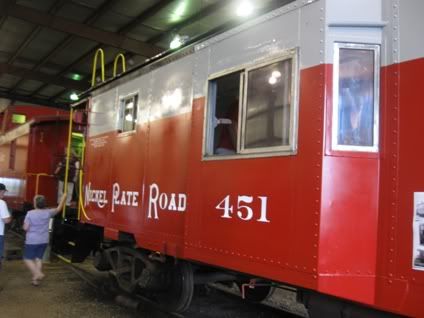
765 was under steam, and caboose rides behind the caboose were available. My little boy had a great time...he was not scared at all...even when the whistle was blown.

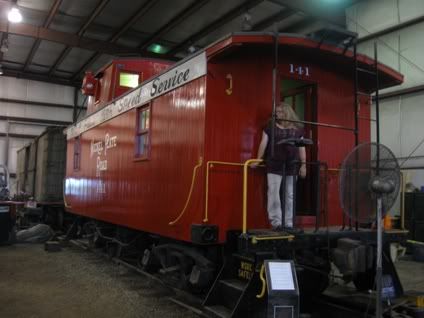
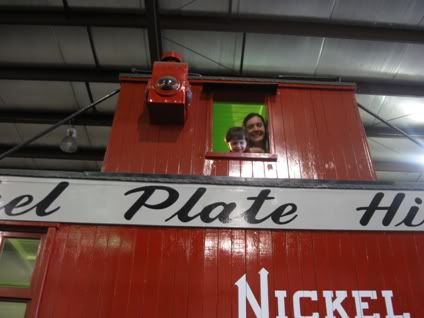
Liam and mommy enjoyed sitting in the cupola of my favorite caboose, the recently restored NKP #141.
Photobucket

Photobucket

After that, they road the cupola of the Wabash caboose during our caboose ride. He didn't care that it was raining, he stuck his head out the window and got drenched.

Photobucket
He was very enthusiastic about the "Gordie"...Gordie is derived from Thomas the Tank Engine's friend Gordon, an LNER A3 pacific (the Flying Scotsman).

Photobucket
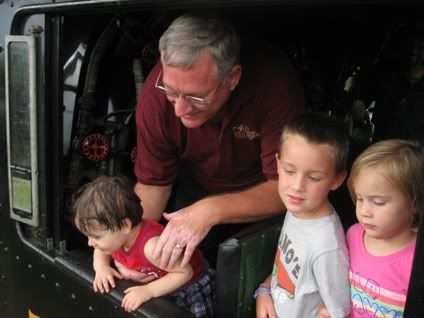
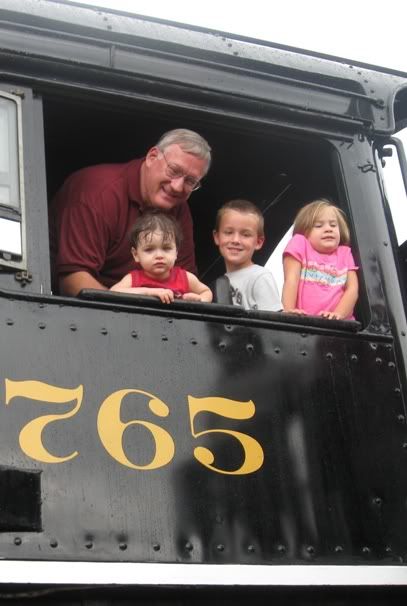
The president of the society (aka "dad"), arranged for our entire group to have a short cab ride. Liam sat on my lap in the pilot seat behind Rich Melvin as he preformed his familiar role and Liam looked out the window. His cousins were on the fireman's side (Jeff) where grandma took their photo. This was the first cab ride for Liam and my wife. It may have been my first steam cab ride in a decade or so. The cab is a fun place to ride...and Rich is always a pleasure to talk with.

A few other photos:
Photobucket
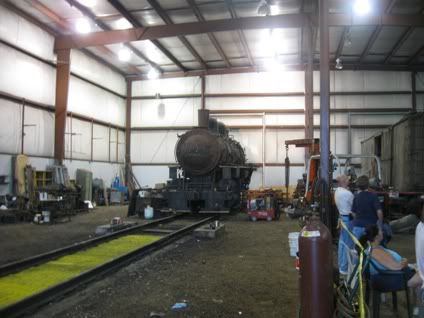
The Wabash 0-6-0 is now in the shop

Photobucket
The new NKP caboose. Built in 1962, four years after 765 was parked.

Photobucket
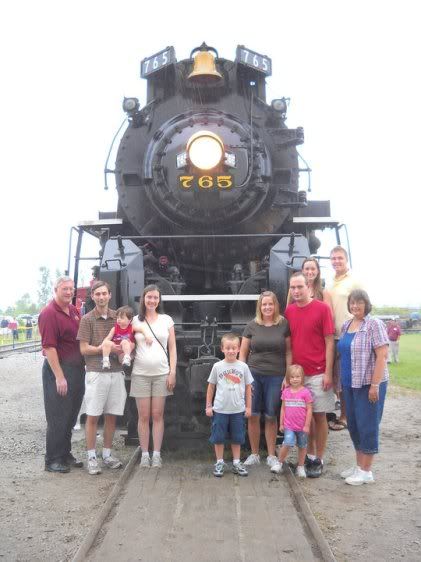
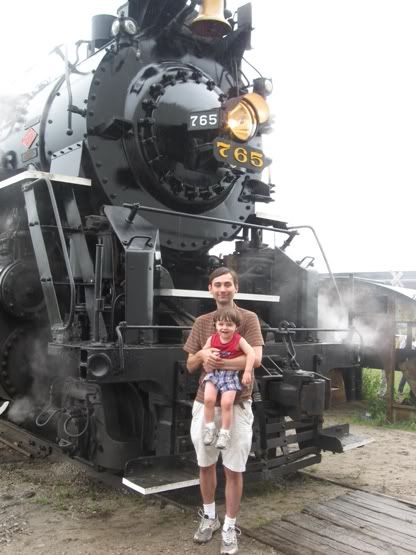
Our family photo.


-------------------------------------------------------------

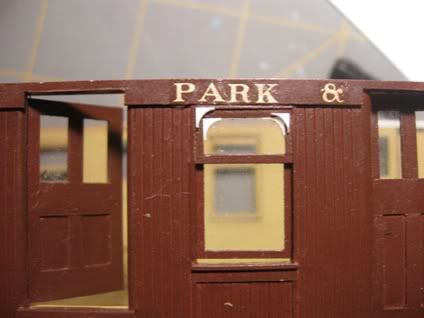
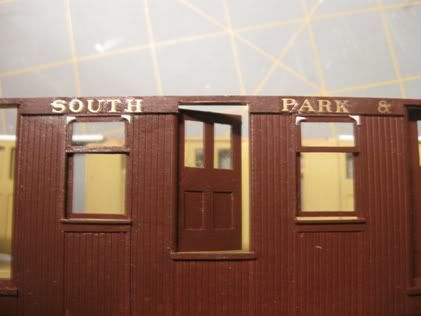
Here's slightly larger rounded corners for the South Park cars:
Photobucket

I probably need to try a slightly larger radius, but they are looking better.

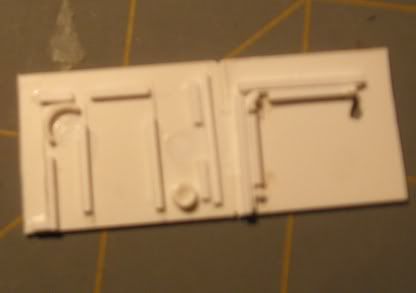
I'm currently learning the nuances of the detail part mold for my Oahu Railway coaches. I've managed to eliminate air bubbles...but my castings are coming out a touch thick...too thick of flash.

Sunday, August 15, 2010

Arched windows and grab iron bending jigs

The most challenging aspects of an accurate South Park (or, really, any prototype) passenger car is all in the details. Arched windows were the norm, and so they represent one of the more challenging aspects of building good models.

Tonight, I successfully produced the rounded corners needed...and in a manner which I can replicate them with precision.

Here is the result of my first attempt:
Photobucket

I'm probably going to make them a bit more pronounced than these...but the technique has been proven.

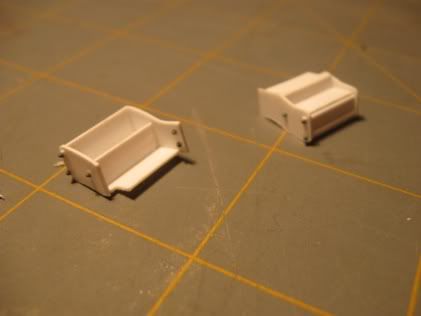
Additionally, here are the intriguing box steps for the Oahu Railway cars:
Photobucket
Note that a corner is missing out of each one...that is because steps actually run slightly under the end sill on the prototype.

And lastly, my grab iron bending jig for the Oahu Railway cars. The Oahu Railway used far more complicated grab irons that your typical passenger car. This jig should allow anyone to assemble them with just a little practice.
Photobucket

Thursday, August 12, 2010

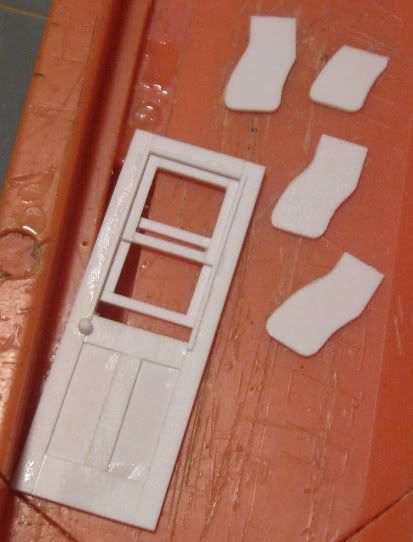
The last detail parts for the OR&L coach

The last detail parts are under construction...and the difficult work is done.

Photobucket

At left is the door with positionable window panes. It is accurate for these cars. The window frames are to be added by the modeler, so that they can be painted separate from the rest of the door. The other parts will form the box steps. On the prototype, the side of the steps next to the car do not attach in the normal fashion, instead they appear to bend 90 degrees and attach to the bottom of the frame. And so, I am making them in this fashion (hence, one of the three has already been shortened). I'll produce two box steps. Once they are ready, I'll prepare a mold for all of the miscellaneous detail parts (bolsters, steps, doors, etc) and cast enough duplicates to prepare the production molds for those parts.

There is a decent chance that my next post will be covering construction of South Park passenger car parts...imagine that, a blog titled "The South Park Line" actually doing something South Park related. The flexibility that I'll have with a 1940s Oahu Railway and an 1880s South Park Line will be beneficial once the layouts begin to take shape. There are so many difference between the two, they make a delightful pairing.

Tuesday, August 10, 2010

Window Spacing on South Park Passenger Cars

I've finally settled, after hours of studying photos, measuring photos, and performing calculations, on the window spacing which I'll be using.

Here are my rules:
#7&8 are identical
#6-8, #40-41, #45 have identical windows except for the number of panes of glass.
#6-8 have the same window spacing
#6 has little space between the last window and the corner molding
#6-8 have a space more than twice the width of the posts at each end

The equations are as follows:
for #6:
2e1+13w+12p=400
for #7-8:
2e2+15w+14p=476

There are a few additional equations based on the C&S folios, but the above are key.

e1 and e2 are the space at each end of the car, minus the corner molding
w is the window width
p is the post width
If e1=p=5", then w equals 25.38 and e2=12.5
Yep, I am an engineer...just not the fun kind which gets covered in soot.

That is confirmed by a drawing which was developed independently of me (thank you Dave).

Additionally, I've potentially developed my technique for simulating the tin metal roofs which were standard on 19th century narrow gauge (and SG) passenger cars. I'm looking forward to the OR&L cars reaching the market which will fund mold prep for the South Park cars. I think I'll do a few freight cars after I get these goodies on the market...freight cars don't require anywhere near the time and effort to prepare (although the unit cost isn't that much less).