Unfortunately, I forgot my camera. There were several nice models in the contest room, as well as some cool layouts. I had debated which car I ought to paint/letter and bring, and I settled on the incomplete baggage car and waycar. I was really almost too embarrassed by the waycar to take it...its execution is now well below my modeling level. Regardless,I hurriedly painted her white on Friday morning and then hit the underside with a wood shade and black on friday evening...single coats of each. I cut squares of silk span approx 2'x 2' and applied them to a coat of gray on the roof to depict a canvas roof. I finished applying the first layer of dry transfers and sealing them after 3am. I then woke up at 9am and applied the second layer and sealing them. I would never dream of doing this with one of my "good" models, but hey, I'm already disappointed with this car...so all I could ruin was a good pair of dry transfers! At the last minute, I tossed the lime car into the box as a space holder to keep the way car from rolling around...and I ended up setting it up on the table as well. After the event, we visited a fabulous HO Southern layout.
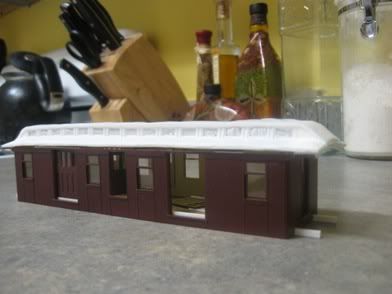
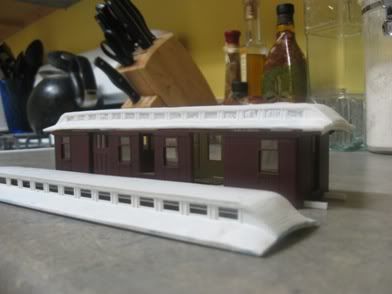
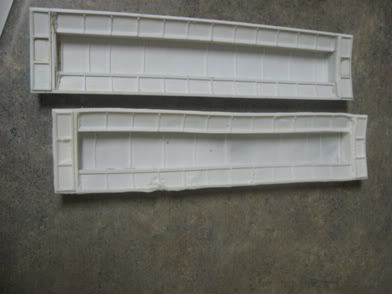
Here are some photos of the lettered way car and the 34' roofs: 2 good resin roofs, the warped roof, and the master. The resin copies are actually stiffer and heavier than the styrene master.
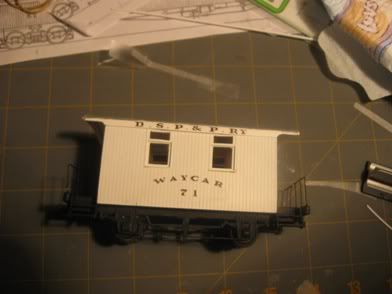
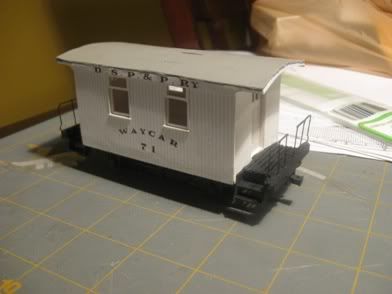
Yep, I smudged the paint a little and I had poor color separation.
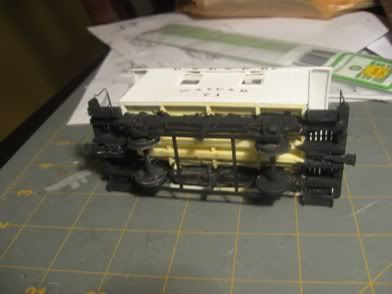
What an ugly paint job underneath! It matches the crooked truss rods! I am thoroughly looking forward to my next way car...I'll do that one right. This one will be just fine as a filler car on my future roster.
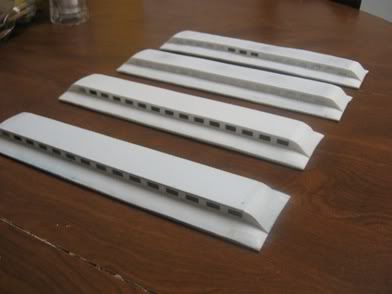
Roofs lined up!
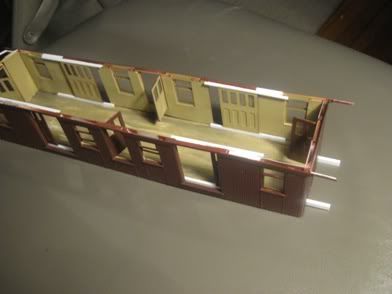
I also got around to installing all of the door guides.
It was really a lot of fun to take models to the show. Sure, winning would have been great, but the models were great conversation starters. I definitely will take models to all future conventions and events...even if I don't have a competitive piece, because it made the event more fun than had I not brought any.
Here's the Mini-Bunch page: http://www.narrowtracks.com/minibunch/
