I received two On3 C&S kits for Christmas. One of them was a C&S/RGS Reefer Hardware kit. While I build all of my own hardware, most modelers would consider starting with a hardware kit and plans to be "scratch building". Personally, I would consider it to be a craftsman kit since all that's missing is the material for the frame and siding (plus paint, decals, and glue). While I'm not planning to start it (or the other kit, a C&S stock car...both from Grandt Line) anytime soon, I opened it to verify that all the parts are present and share a photo here on my blog. If you've ever wanted to try scratch building, get this hardware kit and give it a shot. Since Grandt Line pulled their HOn3 models, there is no telling if this hardware kit will be available in a few years. Grandt Line's car kits are absolute gems, and this looks to be on par with their usual excellence.
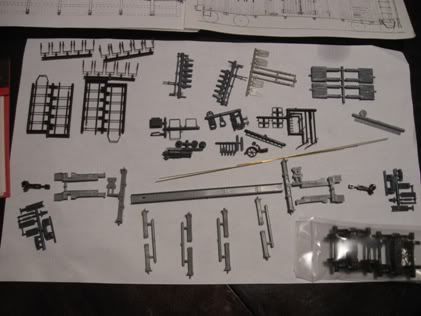
Here are the parts. At bottom is the steel underframe, trucks, and draft gear (plus Grandt Line's couplers which I regard as the best value for a coupler: function, appearance, and price). Above the SUF is the brake parts. Above them are the C&S reefer specific parts (the C&S door latches are on the sprue with the corner irons, not the ones with the hinges). To the left of these are the ladders and stirrups (which are far faster and easier than bending wires as on the stock car, gondola, and box car...the reefer only requires a few grabs to be bent)
Here are the plans and info on the SUF:
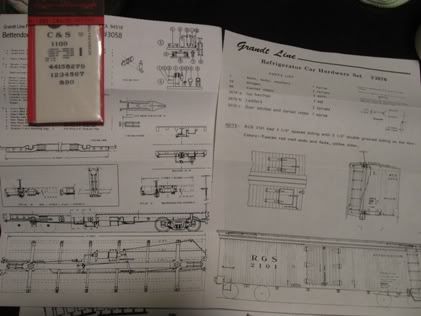
I picked up a set of CDS Dry Transfers for these cars a few years back. I'm still a couple sets of C&S stock car decals short...
------------------------------------------------------------------
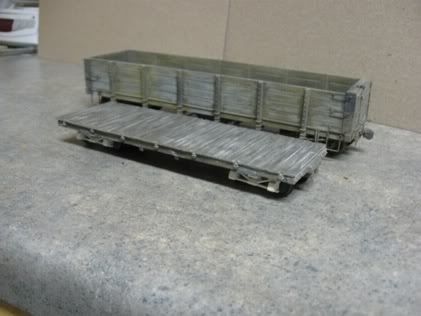
My first 23' flat car kit has received all but its red paint. The deck is quite dark on the top and more brown (like the underframe) underneath. This version I am building with out the intermediate sills (I'll build an example gon with the int sills).
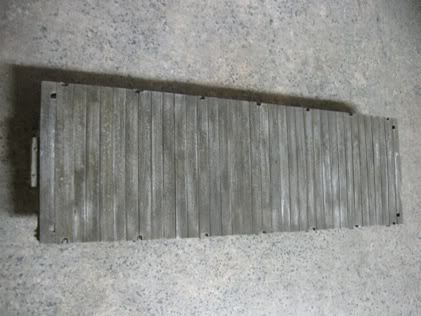
The deck
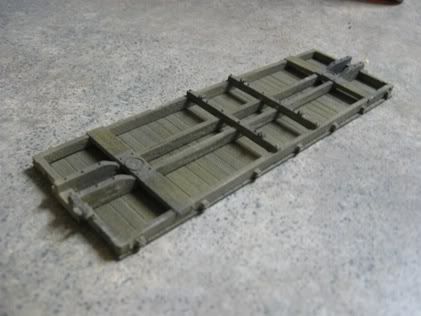
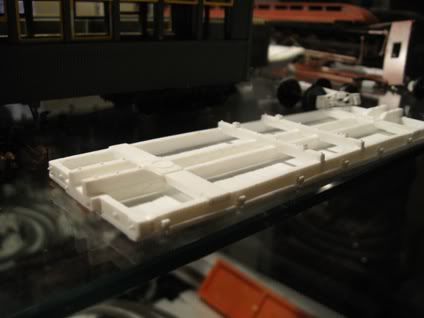
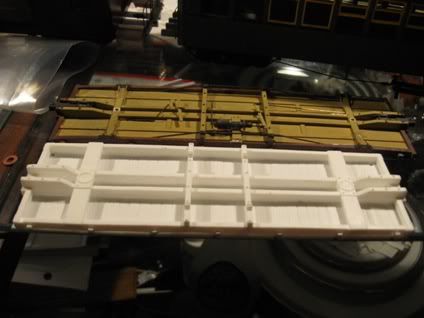
The underframe
Comparisons against a Grandt Line 30' C&S coal car:
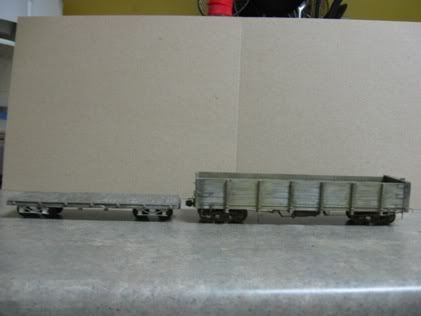
Wednesday, January 26, 2011
Sunday, January 16, 2011
First Colorado Central 23' flat car castings
I decided it was time to try preparing a 2-part mold using my new rubber. Since the passenger car parts are large and hence could waste a lot of material, I decided to create the molds for my 23' Colorado Central flatcar. Additionally, it gives me a ready-to-sell product in the event that a need a revenue stream prior to having the passenger cars ready. The first castings were rejects, but the 2nd, 3rd, and 4th are good enough to use/sell. I've cleaned up two of these:
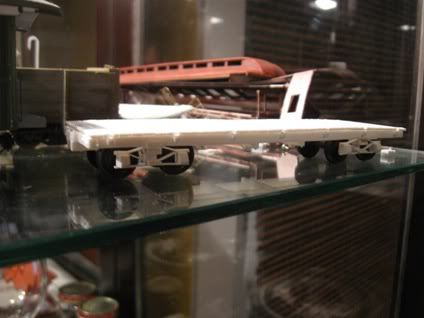
Here's a deck and frame sitting on a pair of incomplete trucks. Not shown are the two sets of levers that I'm including in the kits (one for power brakes, one for manual only).
Here's a view showing some of the details:
And the comparison shot against a DSP&P 26' flatcar.
The gondola sides are in the works, and the portion of the mold for the option intermediate sills was a bust. I'm in the process of building the first to kits to verify that scrubbing the parts is sufficient for removing the mold release residue...an issue I've had with some of the Oahu Railway coach parts which may not have been scrubbed. Once I'm happy with paint adhesion and assembly, I'll punch out a as many parts as the mold with give me, and then offer them for sale based off of the time and material each kit required to make (I'm hoping for $20-25 for the flat car, and $30-35 for the gondola version...both less trucks, couplers, decals, and probably brake wheels...all preference decisions which will vary from modeler to modeler).
Wednesday, January 12, 2011
Cleaning up windows
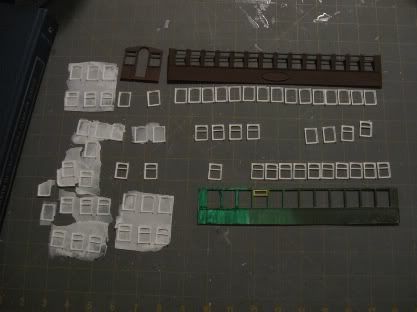
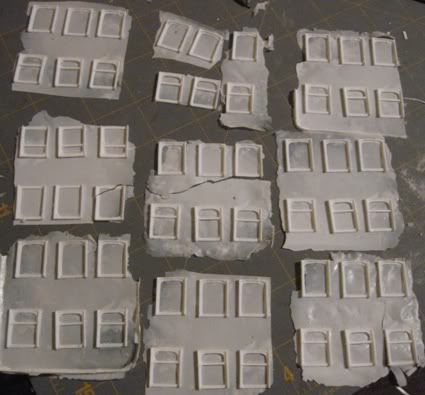
The majority of the time needed to create passenger car sides is spent on the windows. I'm cleaning up the 60 windows I cast to create the car sides. I need at least 28 double pane windows for the combine and baggage cars. I need 17 single pane windows for the chair cars. I'll take the best windows and use them in the masters, and then the rejects will likely go to a friend in Chicago who has previously generously helped other friends/South Park modelers.
Above the 17 windows needed for the chair car, I have a Barney & Smith coach side. The B&S coaches was within 2" of the chair cars in length, and so they are give a good feel for how the windows will be spaced. Similarly, I've put the 11 arched windows needed for one side of the combine (with a space left for the baggage door) next to an Oahu Railway coach side, which minus the corner moldings is 1'4" longer than the combine. In the middle are extra windows plus the four needed for the baggage car side. I'll clean up the remainder of the photos prior to assembling the sides.
EDIT: I forgot to mention that, as of today, we have a 1 week old daughter. Despite being off work for this splendid event, I haven't had any additional hobby time. I attempted to take our 2 year old son to the local Wonder of the World, an 80,000sq ft model railroad, but learned after we got there that they are closed Weds from January thru March. We made up for it by stopping by one of the dozen local railroad yards...the only one with passenger cars...and let him watch a little switching (he loves that sort of thing).
Saturday, January 1, 2011
Arched windows galor!
I now have 54 windows sitting on my self healing mat. They are of two designs: single and double pane. The single pane variety are for the South Park's 1879 chair cars. They require 15 per side plus 2 per end (17 minimum to produce the necessary kit parts). Combine #6 requires the double pane variety, 11 per side plus 2 per end, while the 1879 baggage cars require 4 per side. I'm looking forward to building the car sides quite soon. I'll then need to create a 40'4" car version of the roof and continue with the odds and ends (end beams, roof vents, etc).
These are 2" scale wider than the original version.
--------------------------------------------------------
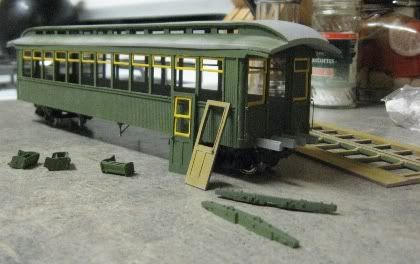
On a related note, my Oahu Railway coach is coming together. Here's a photo of here:
The wavy roof is an optical illusion created by a slight bow in the not-yet-attached and missing-the-interior-wall side. When pressed into place, it is beautifully straight.
I really love the Oahu Railway, DSP&P and Colorado Central. That were such interesting roads.
Subscribe to:
Posts (Atom)