Pictures:
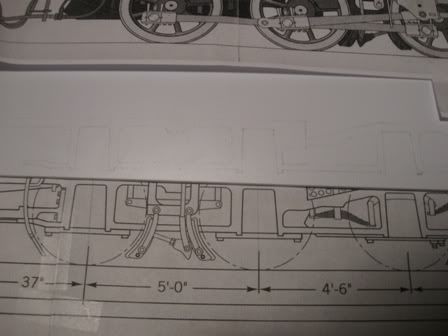
Here is a market sheet of 0.080" styrene for one of the two frame sides for Liam's mogul. Both sides have been cut out.
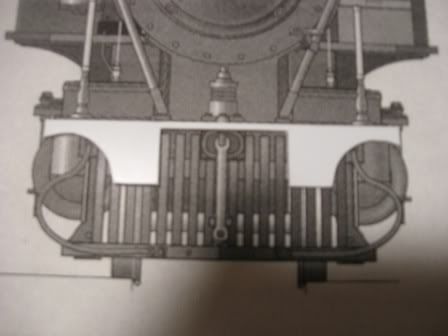
Part of the cylinder block

The motor liberated from the old frame
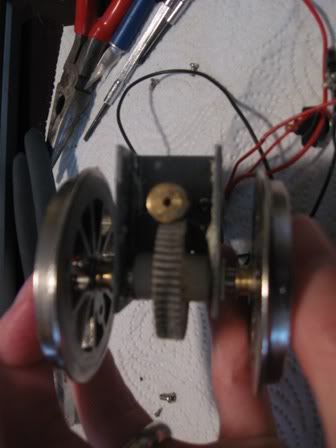
This gear slides back and forth...no wonder these sometimes eat their gears. I'll be shimming it to prevent the lateral movement...so long as she can still negotiate tight curves.
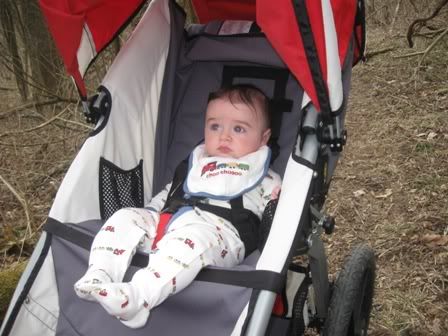
We took Liam to one of the zillion Cincinnati parks a few weeks back. It was really too hilly (w/steps) for pushing his stroller...quite the workout.
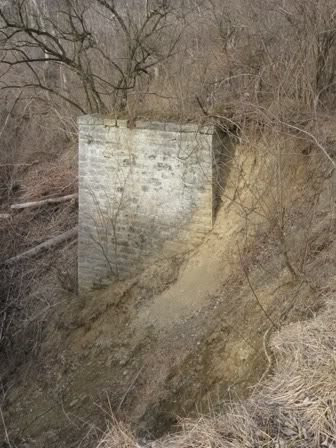
The park is in the middle of the city...but had a 3' gauge railroad passing through it over a century ago.
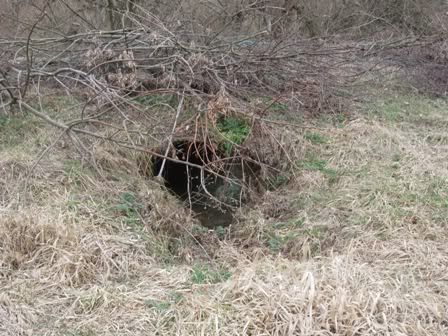
Here's a culvert from the old College Hill Railway
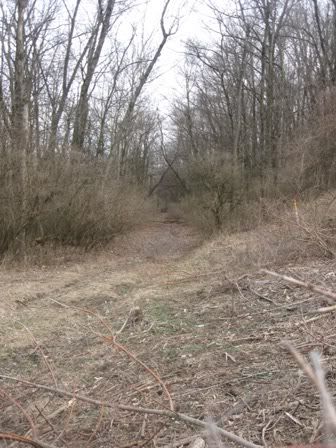
Here's a view of the right-of-way
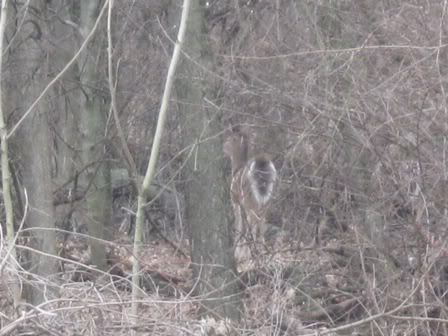
Here's a deer along the roadbed...in the middle of a 2 million person metropolis...I love Cincinnati!
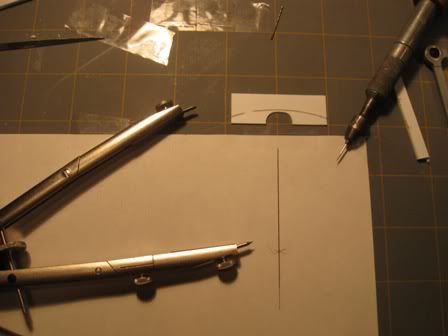
I taped the end pieces down and used a compass to mark the curvature of the roof.
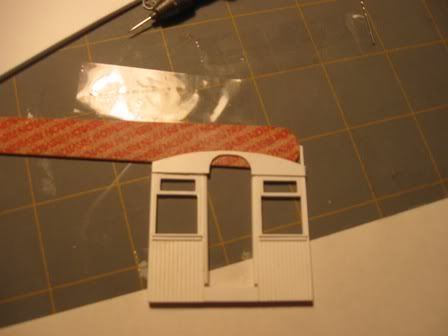
Not good enough for my tastes.

Preparing variations.

Here's one of the soldered curve connectors to join my curved sections.

Since I will, for the time being, continue to use both DC and DCC, I've added a knife switch to allow both...but to avoid decoder frying accidents from mixing the two.

Here's the previous 3-way and a template drawn from a mix of info on the location and the min curve radius.

Here she is completed. The bundle of red and white wires underneath are the feeders. 3 are for frogs, plus to for the outside stock rails. The thicker white and black wires are the busses. I haven't had any luck so far in finding a simple way to wire up this turnout. I understand how to do so in theory...it is just a matter of finding (or building) an adequate switch.

Here this stretch of track is...the roadbed now glued in place. Three sets of feeders are visible on the tracks approaching the 3-way.

I partially rebuilt the other stub switch...the first one I built for this layout. It was perfectly fine a year ago, but wasn't so fine anymore. I fixed the frog by soldering a piece of PCB to it...rather than holding it together with spikes. I'm currently using rail joiners instead of the throws for the stub switches. I have some Grandt Line parts to use with the throws.

Here's the wye turnout which I need to rebuild. I'm going to replace this entire piece...it will be the lift out bridge in between the 3-way and the trestle.

The trestle will be were my guitar rack is sitting.

Here's a train that the Porter cannot pull. 4 Grandt Line kits, 1 Model Masterpiece kit, 2 Mainline model kits, and 7 of my scratch built cars.

Last weekend there was a baby shower in Sidney, Ohio. Being that one of my father's good friends lives in town...and I hadn't seen him for a few years...I had to get in a little bit of railfan time while Lisa did girly things. Doug, my dad, and I drove around Sidney a little...watched a train the Big Four (NYC/Penn Central/Conrail/CSX) cross over a train on the CH&D (B&O/C&O/Chessie/CSX). This is the Big Four bridge build circa 1922 as part of a project to move the mainline out of downtown Sidney, eliminate the grade crossings, straighten out the tracks, and double track the mainline into a delux 70+mph railroad.

No comments:
Post a Comment