There are many model railroad scales and gauges. Gauge is a reference to the width of the track. There were three basic classes of gauges (in the USA):
-standard gauge (56.5" gauge) Nearly all 20th century railroads
-broad gauge (mostly pre-1880 railroads...4'10" in Ohio, 5' in the South, the 6' gauge Erie Railroad).
-narrow gauge...99% was 36" gauge...with some 42" gauge in Pennsylvania...a touch of 30" gauge in Hawaii, and 24" gauge mostly in Maine.
Scale refers to a miniature scale drawing. The original naming convention was #2, #1, and 0. 0 was believed to be the smallest possible scale in its day...1:43.5. #1 was 1:32 and #2 was 1:22.5. For whatever reason, most likely Lionel failing to correctly read Marklin's specifications, the US scales became 1:48 for o scale...not zero anymore, but the letter "o". A new scale was introduced that was half the size of European 0 scale, 1:87.1, which became known as H0, half-0. This is the most common scale in the US...HO.
My On3 trains (1:48 scale, 3' gauge track) run on 0.75" gauge track. 10 years ago, an obscure gauge O scale became popular, On30...which combines O scale with HO gauge track. The manufacturer whom really made this mainstream is Bachmann. Their initial offerings were a 2-6-0 mogul, passenger cars, and freight cars. I have a couple of their moguls, a passenger car, and a couple freight cars. The moguls are a nice approximation of a Colorado & Southern Brooks mogul as it appeared after 1900...and I've converted one of them to On3. The passenger and freight cars have been mysterious to me...too small to be moder, yet featuring a mix of post-1908 saftey hardware with 19th century brakes.
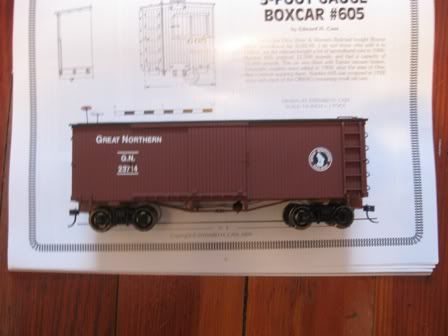
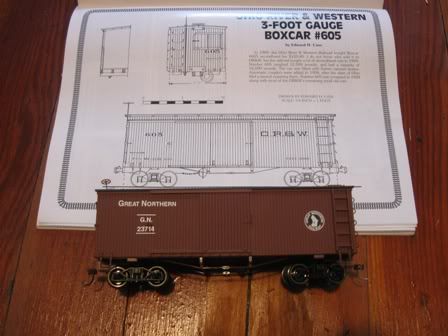
I have discovered what I consider to be the prototype for B-man's boxcar. The current issue of the Narrow Gauge & Short Line Gazette has plans for Ohio River & Western boxcar #605. It is nearly identical to the B-man car. The only difference I can see is that the B-man model lacks the end stirrup steps and the Eames Vaccuum brake diaghram faces the wrong direction. Otherwise, both are about 25'4" long and 7'3" wide. The trucks are the same. The safety hardware is the same. I will probably regauge mine to On3 and letter her up to be #605.
Sunday, March 29, 2009
Thursday, March 26, 2009
How to wire a 3-way stub switch?
I'm currently thinking about how I'll wire up my 3-way stub switch. Probably a rotary switch is in order, but I might also consider a guitar selector switch.
Pictures:
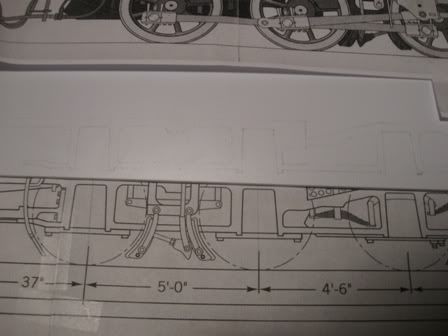
Here is a market sheet of 0.080" styrene for one of the two frame sides for Liam's mogul. Both sides have been cut out.
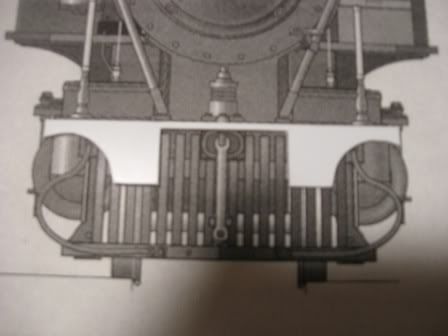
Part of the cylinder block
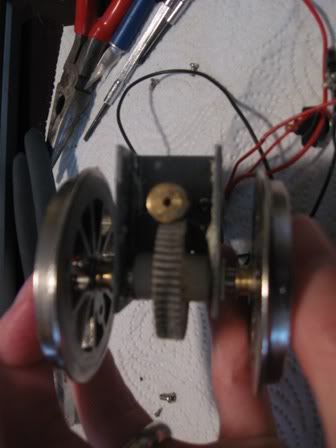
The motor liberated from the old frame
This gear slides back and forth...no wonder these sometimes eat their gears. I'll be shimming it to prevent the lateral movement...so long as she can still negotiate tight curves.
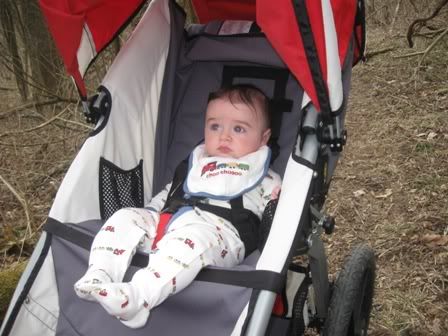
We took Liam to one of the zillion Cincinnati parks a few weeks back. It was really too hilly (w/steps) for pushing his stroller...quite the workout.
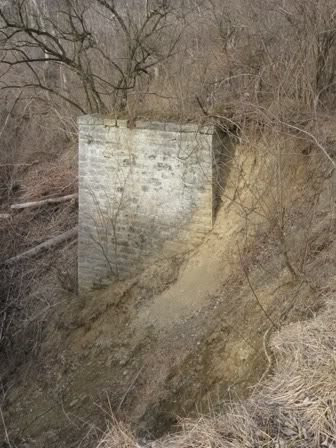
The park is in the middle of the city...but had a 3' gauge railroad passing through it over a century ago.
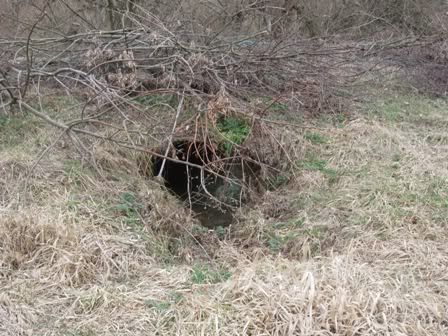
Here's a culvert from the old College Hill Railway
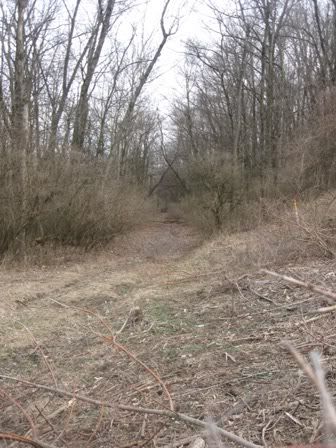
Here's a view of the right-of-way
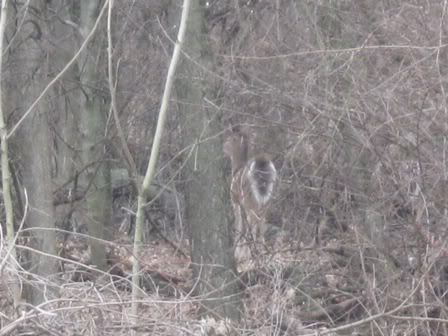
Here's a deer along the roadbed...in the middle of a 2 million person metropolis...I love Cincinnati!
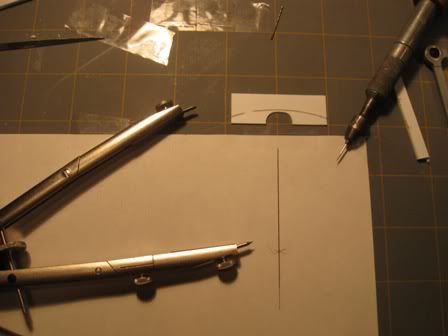
I taped the end pieces down and used a compass to mark the curvature of the roof.
Not good enough for my tastes.
Preparing variations.
Here's one of the soldered curve connectors to join my curved sections.
Since I will, for the time being, continue to use both DC and DCC, I've added a knife switch to allow both...but to avoid decoder frying accidents from mixing the two.
Here's the previous 3-way and a template drawn from a mix of info on the location and the min curve radius.
Here she is completed. The bundle of red and white wires underneath are the feeders. 3 are for frogs, plus to for the outside stock rails. The thicker white and black wires are the busses. I haven't had any luck so far in finding a simple way to wire up this turnout. I understand how to do so in theory...it is just a matter of finding (or building) an adequate switch.
Here this stretch of track is...the roadbed now glued in place. Three sets of feeders are visible on the tracks approaching the 3-way.
I partially rebuilt the other stub switch...the first one I built for this layout. It was perfectly fine a year ago, but wasn't so fine anymore. I fixed the frog by soldering a piece of PCB to it...rather than holding it together with spikes. I'm currently using rail joiners instead of the throws for the stub switches. I have some Grandt Line parts to use with the throws.
Here's the wye turnout which I need to rebuild. I'm going to replace this entire piece...it will be the lift out bridge in between the 3-way and the trestle.
The trestle will be were my guitar rack is sitting.
Here's a train that the Porter cannot pull. 4 Grandt Line kits, 1 Model Masterpiece kit, 2 Mainline model kits, and 7 of my scratch built cars.
Last weekend there was a baby shower in Sidney, Ohio. Being that one of my father's good friends lives in town...and I hadn't seen him for a few years...I had to get in a little bit of railfan time while Lisa did girly things. Doug, my dad, and I drove around Sidney a little...watched a train the Big Four (NYC/Penn Central/Conrail/CSX) cross over a train on the CH&D (B&O/C&O/Chessie/CSX). This is the Big Four bridge build circa 1922 as part of a project to move the mainline out of downtown Sidney, eliminate the grade crossings, straighten out the tracks, and double track the mainline into a delux 70+mph railroad.
Tuesday, March 24, 2009
New 3-way installed
The new 3-way stub switch has been installed. She works beautifully. My most difficult pieces are a poorly balanced Grandt Line porter which has an out of gauge driver and was half destroyed by my childhood...and some unweighted Grandt Line Steel Underframe cars (the light weight and SUF cause the trouble)...the porter handled it like a champ...as did the SUF cars.
Within the next week, I'll have to start bridge building. I'll post photos within the next few days.
Thursday, March 19, 2009
returning to work
I've spent the past month immersed in fulfilling a current portion of my graduate school requirements. While it has been limiting my time for 6 months+, it really took over around a month ago. As of today, that is completed.
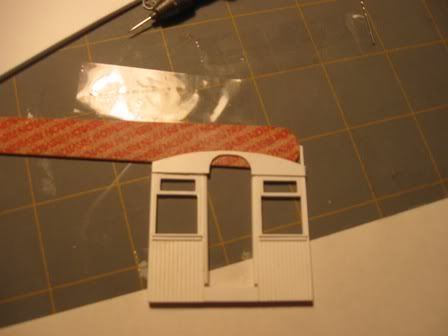
I have made a little bit of progress with my trains. Liam's 2-6-0 has two frame sides cut out of 0.080" styrene. I've also produced a few different passenger car end parts.
Tonight, I've been working on getting my layout's mainline back in service. The project had left me with 7' of operational mainline for the past six months. I know have half of it back in service. I cut out a few PCB ties and soldered 3" long pieces of curved rail to them to join the curved sections. In the future, I'll consider making the curved sections 1-piecers.
Subscribe to:
Posts (Atom)