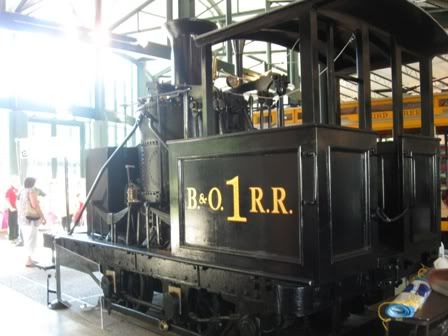
Carillon Park is pretty cool. Sure, they have a 1905 airplane and such, but I go for the trains!
They have an 1835 steam locomotive. A 190X Barney & Smith coach-observation car, a B&S interurban, and open trolley (B&S???), a Lima fireless cooker, a 30" gauge Porter, a B&O caboose, and a 1/8th scale railroad.
This weekend, they had a train show...which surprised me. I didn't take photos of any of the layouts, directly, as I was short on time and I prefer 1:1 trains to model trains.
Here are a few photos:
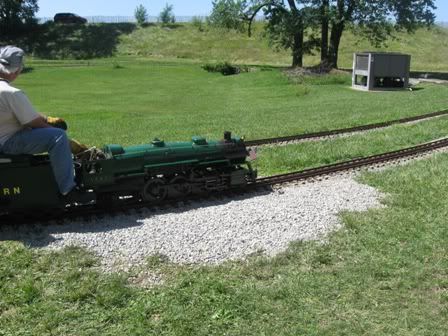
A 1/8th scale Southern Ps-4...I road behind her.
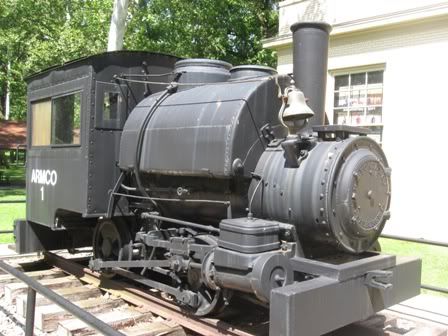
The porter
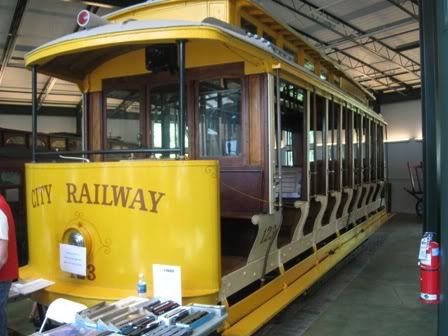
The open trolley
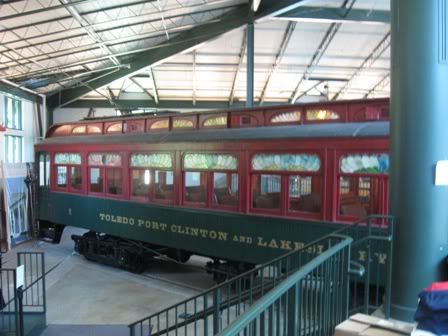
The interurban
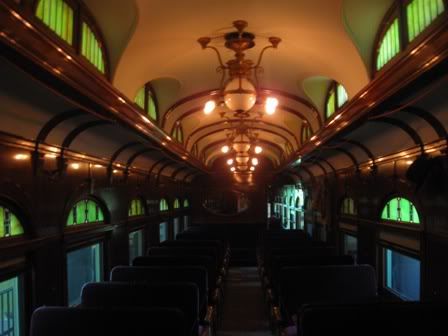
Inside the interurban
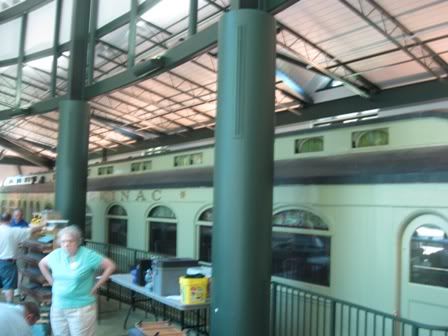
The exterior of the passenger car
The coach portion of the passenger car
The 1835 Grasshopper. She is not a replica...she is a genuine 174 year old steam locomotive.
Monday, June 29, 2009
Thursday, June 25, 2009
Continuing work on my 2-8-0
After the disaster that was my first attempt at rolling the locomotive after adding the main rods (there was a bind between the #1 driver's crankpins and the crossheads...causing damage to some of the frame members).
I started off with reinforcing, laterally, the vertical frame members by drilling holes and adding pins from the horizontal members...after gluing them back in place. I also filed down the crankpin locations on the lead driver as well as the backs of the crosshead guides. I added 2"x4" spacers to lower the driver bearings (raising the frame), filed off a couple bits here and there, and it rolled smoothly once more. I then reinstalled the gearbox and connected the motor...success! I now need to find some longer crankpin screws for the main drivers.
The level of satisfaction that I receive from success with this project is definitely the greatest I've ever experienced in this hobby. The second greatest is from building passenger cars.
Before renewing work (mustering up the courage) on the 2-8-0, I made a mold and cast a few name plate ovals for my passenger cars. I cheated a bit on the mold and regret it, but it will work. I also got around to working some on my 26' flatcar deck. I'm still not happy with it...it needs more gray...but it is improving.
Tuesday, June 9, 2009
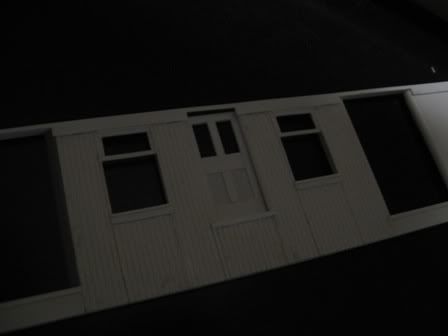
1st door for the baggage car
I haven't been doing much modeling. We have had a guest in our house for the past few weeks...and I'm more inclined to visit (she is from China, so we are ambassadors of sorts) than build trains. I'm not introverted as my long posts imply...
The head end car received its first of 8 doors this evening...8 doors. 8 windows, plus 8 doors with 20 windows in those doors.
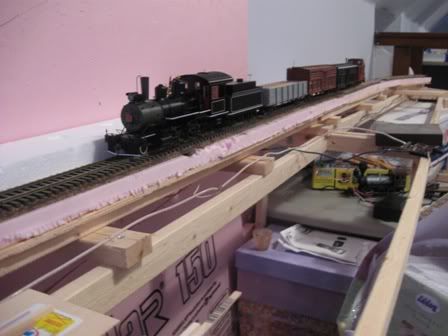
I converted my $69 On30 2-8-0 into an On3 2-8-0.
I also swapped out the wood burner stack for the conventional stack (and coil springs for the tender trucks). It runs nicely on my layout.
What shall she be?
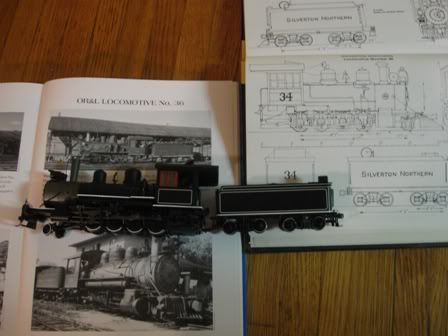
Probably OR&L #36...I prefer it slightly over the other similar 50ton 2-8-0s the OR&L had. Yet, SG&N #34 is pretty close to and I've got a soft spot for the Mears lines.
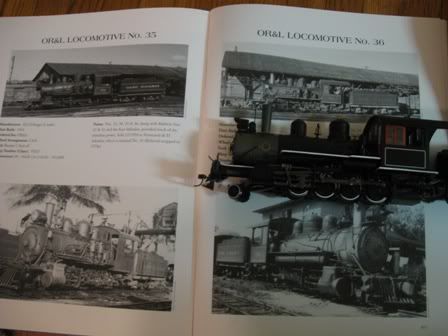
I'll have to get a second one for the SG&N/SN/WP&Y #34
I have 5 name plate ovals ready for my passenger cars. I'm going to make a mold and cast resin duplicates of them:
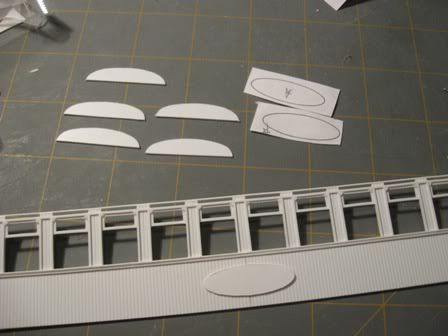
Also pictured there are the formers for my HO lightweight passenger car roofs...the 1940 AAR contour minus and inch or two for the actual roof material. The name plate shown is before the edge was added.
I had a production line a few weeks back and produced 3 sets of Colorado Central trucks. One pair has been mounted under the 1872 23' Colorado Central underframe I built a couple years ago.
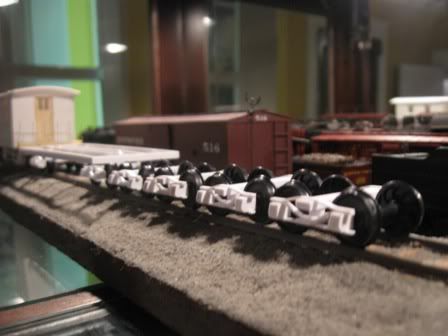
While I was at it, I mounted the trucks under a few of my other cars (specifically the CC lime car and the DSP&P flat car).
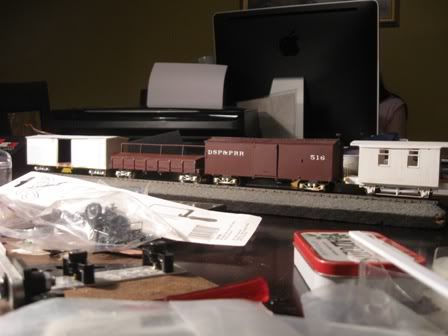
I put my waycar under the knife and fixed the crooked pedestal which caused only three of the wheels to touch the rail at once...that led to adding the second layer to the roof and will lead to continuing my work on the brake gear.
Subscribe to:
Posts (Atom)