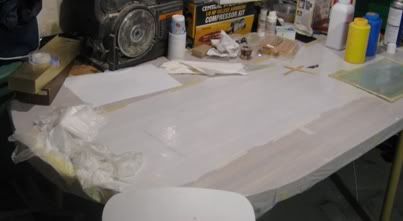
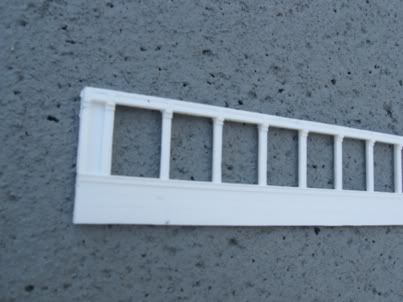
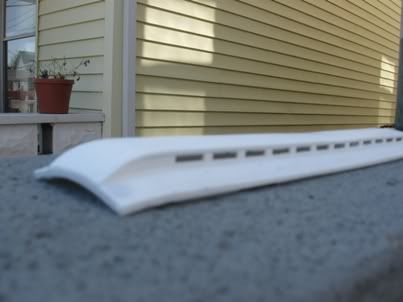
There was an incident with one of my entries (1st place, scratchbuilt). Someone managed to send it to the floor...and with its 1/2lb+ worth of weight, it landed hard. I'd requested a photo from one of the guys whom was taking such photos, but he hasn't returned my email (which is always annoying for someone like me whom strongly prefers email to phones). I was going to post once he sent me his photo...or at least gave me a response. (Edit: he was out of town, and isn't quite as addicted to email as I am)
Here's what the car looks like:
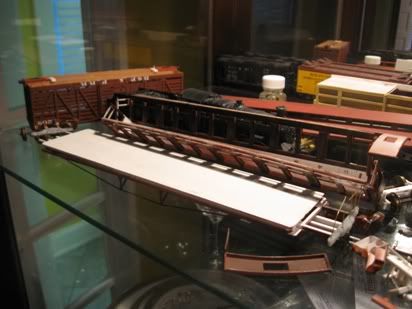
Isn't that pretty? It actually won't take me too long. I only used the PSC end beams because I was short on time and I hastily created the brass end rails. All were supposed to be temporary...and now they've been crushed. The body generally broke cleanly. Had the frame been attached to the body, I have no clue as to how she would have done (probably worse). Most of the steps were knocked off. Fortunately, the scratch built styrene roof was unscathed. Thank God. I'm planning a new display track which will anchor the cars so that such accidents can't happen.
In other news, I built a set of box step masters which were based on the 1879 South Park passenger car box steps. I did that on Thursday or so of the NMRA week. The mold was completed on Saturday morning and the first set of castings came out fine.
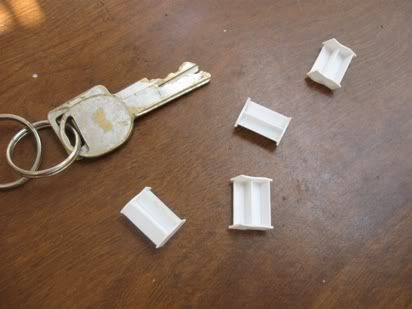
Here are the masters, prior to adding the hardware.
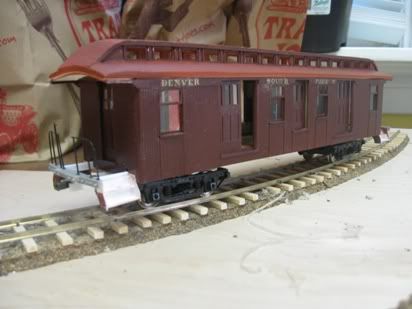
Here's what they look like on the baggage car. No, they aren't crooked...it's just the photo. It is actually a terrible photo of that car...a quick snapshot. The roof had smearing issues as I hastily painted it at 1am before the NMRA contest. The stuff I used, evidently, smears horribly even after it is dry...thank you Testors for reformulating Floquil!
The car is sitting on my new test track. I decided that it would be a good idea to evaluate this:

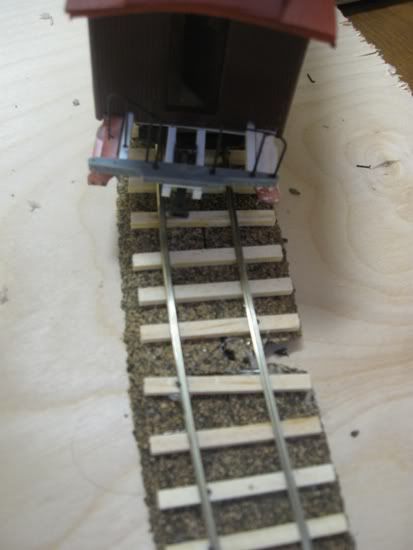
That's the overhang on a 36"R curve. Much better than the 27" and 30" curves of my existing, temporary layout. I'm looking to go with 42" as a minimum mainline radius for my future OR&L layout and either 42" or 36" min. main. rad. for my South Park line. My test board has the roadbed in place for 42"R and a line marked for 48"R. My layout, of course, handles 27"R and 30"R testing.
I'm probably going to see about modifying McHenry's HO talgo couplers into Link & Pin couplers for my passenger cars. They are about the same size and close in shape to the South Park's L&Ps. For my Oahu Railway cars, I'll be using Knuckle couplers so it won't be an issue (possibly PSC's brass couplers or some other non-Kadee couplers).
I managed to lay that track in a short time before dinner. I used a hot glue gun so that I didn't have to wait before spiking. Obviously, it isn't a good approach for a layout...but it worked well enough for track that won't be carrying trains.
I think I'm going to go ahead and build my master frame for the Oahu Railway coaches...I don't know when the photos will arrive, but I know the dimensions and spacing...so I can build it accurately.
