Thursday, March 26, 2009

How to wire a 3-way stub switch?

I'm currently thinking about how I'll wire up my 3-way stub switch. Probably a rotary switch is in order, but I might also consider a guitar selector switch.

Pictures:
Photobucket
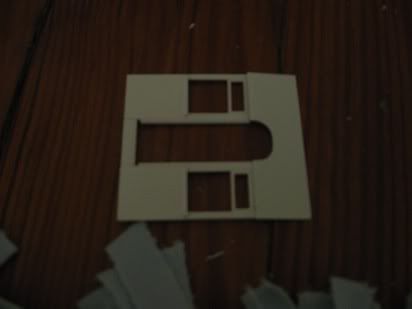
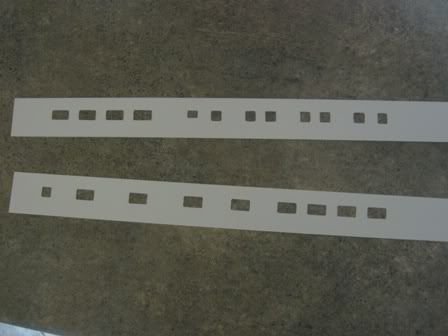
Here is a market sheet of 0.080" styrene for one of the two frame sides for Liam's mogul. Both sides have been cut out.

Photobucket
Part of the cylinder block

Photobucket
The motor liberated from the old frame
Photobucket
This gear slides back and forth...no wonder these sometimes eat their gears. I'll be shimming it to prevent the lateral movement...so long as she can still negotiate tight curves.

Photobucket
We took Liam to one of the zillion Cincinnati parks a few weeks back. It was really too hilly (w/steps) for pushing his stroller...quite the workout.

Photobucket
The park is in the middle of the city...but had a 3' gauge railroad passing through it over a century ago.
Photobucket
Here's a culvert from the old College Hill Railway

Photobucket
Here's a view of the right-of-way

Photobucket
Here's a deer along the roadbed...in the middle of a 2 million person metropolis...I love Cincinnati!

Photobucket
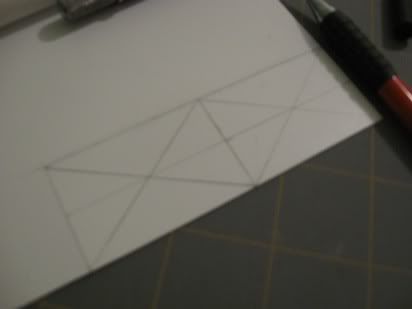
I taped the end pieces down and used a compass to mark the curvature of the roof.

Photobucket
Not good enough for my tastes.

Photobucket
Preparing variations.

Photobucket
Here's one of the soldered curve connectors to join my curved sections.

Photobucket
Since I will, for the time being, continue to use both DC and DCC, I've added a knife switch to allow both...but to avoid decoder frying accidents from mixing the two.

Photobucket
Here's the previous 3-way and a template drawn from a mix of info on the location and the min curve radius.

Photobucket
Here she is completed. The bundle of red and white wires underneath are the feeders. 3 are for frogs, plus to for the outside stock rails. The thicker white and black wires are the busses. I haven't had any luck so far in finding a simple way to wire up this turnout. I understand how to do so in theory...it is just a matter of finding (or building) an adequate switch.

Photobucket
Here this stretch of track is...the roadbed now glued in place. Three sets of feeders are visible on the tracks approaching the 3-way.

Photobucket
I partially rebuilt the other stub switch...the first one I built for this layout. It was perfectly fine a year ago, but wasn't so fine anymore. I fixed the frog by soldering a piece of PCB to it...rather than holding it together with spikes. I'm currently using rail joiners instead of the throws for the stub switches. I have some Grandt Line parts to use with the throws.

Photobucket
Here's the wye turnout which I need to rebuild. I'm going to replace this entire piece...it will be the lift out bridge in between the 3-way and the trestle.

Photobucket
The trestle will be were my guitar rack is sitting.

Photobucket
Here's a train that the Porter cannot pull. 4 Grandt Line kits, 1 Model Masterpiece kit, 2 Mainline model kits, and 7 of my scratch built cars.

Photobucket
Last weekend there was a baby shower in Sidney, Ohio. Being that one of my father's good friends lives in town...and I hadn't seen him for a few years...I had to get in a little bit of railfan time while Lisa did girly things. Doug, my dad, and I drove around Sidney a little...watched a train the Big Four (NYC/Penn Central/Conrail/CSX) cross over a train on the CH&D (B&O/C&O/Chessie/CSX). This is the Big Four bridge build circa 1922 as part of a project to move the mainline out of downtown Sidney, eliminate the grade crossings, straighten out the tracks, and double track the mainline into a delux 70+mph railroad.

Tuesday, March 24, 2009

New 3-way installed

The new 3-way stub switch has been installed. She works beautifully. My most difficult pieces are a poorly balanced Grandt Line porter which has an out of gauge driver and was half destroyed by my childhood...and some unweighted Grandt Line Steel Underframe cars (the light weight and SUF cause the trouble)...the porter handled it like a champ...as did the SUF cars.

Within the next week, I'll have to start bridge building. I'll post photos within the next few days.

Thursday, March 19, 2009

returning to work

I've spent the past month immersed in fulfilling a current portion of my graduate school requirements. While it has been limiting my time for 6 months+, it really took over around a month ago. As of today, that is completed.

I have made a little bit of progress with my trains. Liam's 2-6-0 has two frame sides cut out of 0.080" styrene. I've also produced a few different passenger car end parts.

Tonight, I've been working on getting my layout's mainline back in service. The project had left me with 7' of operational mainline for the past six months. I know have half of it back in service. I cut out a few PCB ties and soldered 3" long pieces of curved rail to them to join the curved sections. In the future, I'll consider making the curved sections 1-piecers.

Saturday, February 21, 2009

Chittenango Falls

I've decided to scratch build a Pullman sleeper lounge car. The car is Pullman plan 4086...a 6 bedroom, buffet-lounge car. I'm building for my father owned it when I was a little kid...the Chittenango Falls. She was built in 1939 and served on the Commodore Vanderbilt. She was sold to Ted Church in 1964 and my father purchased her and 1941 NYC Pullman built coach 2600 sometime before I can remember (probably before I was born).

Here's the sides so far...so much faster and easier than an On3 passenger car...

I will probably finish the B&S coaches before this car...as they have a higher priority for me.

Wednesday, February 18, 2009

Rounded door frames

My least favorite aspect of passenger car construction is building the ends. The B&S cars have rounded top doors...

From Hayes Hendrick's website, taken by Todd Hackett...
As car #3 rotted on the plains east of the Rocky Mountains. She became C&S #56 in 1906. If it wasn't for this picture, I'd make it a square top door. I'll also need to file it to be rounded for matching the corner moldings.

My first attempt at forming this is to progressively drill holes until the opening is 1/2" exactly...2' scale feet wide as B&S built the doors on their narrow gauge cars.


The layout


The holes partially drilled

I then cut the pieces in half (each one is the proper width for the ends)
I'll next have to cut the top to the roof profile.

----------------------------------------------------------
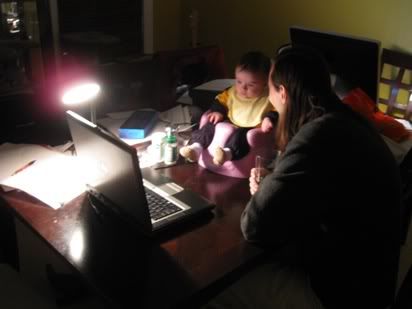
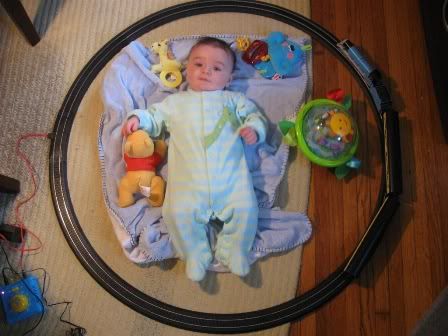
I sat Liam on the dining room table where I've been busy with work, and turned my computer for him to watch trains. This time it was Thomas the Tank Engine (usually it is real trains).
----------------------------------------------------------------

Last Friday, my Eastern Car Works passenger car kit arrived. When I was a little kid, my father owned two passenger cars...a 1941 Pullman built New York Central 56 seat coach, and a stylish 1939 Pullman Sleeper-Lounge car. The Sleeper Lounge, or official a 6 Bedroom, Buffet-Parlor, served on the Commodore Vanderbilt passenger train and was equivalent to the finest passenger cars of the era. This car, the Chittenango Falls, certainly helped me develop a passion for passenger cars. The Chittenango Falls was part of the second batch of cars in the streamlining of the New York Central's premier trains.

THE premier train on both the NYC and on all other railroads was the 20th Century Limited. The train was the ultimate symbol of American luxurious travel for decades, with its life spanning 1902-1967. The train entered the streamline era in 1938 with an all-new, Henry Dreyfuss designed train. Pullman, the world's premier passenger car builder, built all of the cars and ALCO build the streamlined steam locomotives. At the same time, the Pennsy streamlined the Century's rival train, the Broadway Limited...although the PRR cut corners on theirs...and had it designed by the legendary Raymond Lowey (the father of Industrial Design...also designed the Concord jets).

I've long wanted to add matching cars to my NYC streamlined hudson, and so now is the time to start. I want to build a complete 20th Century trainset (12 cars), as well as the Chittenango Falls (which had a slightly different paint scheme) and the 2600 (which had a very different paint scheme).

Eastern Car Works makes several of the cars needed to reproduce the '38 Century...as well as a sleeper for the Commodor. I ordered one of these to examine the quality of the ECW's kits. Mine is a 4-4-2 sleeper. I also ordered a set of 1938 20th Centur Limited decals from Champ Decals. Both were dissappointments.

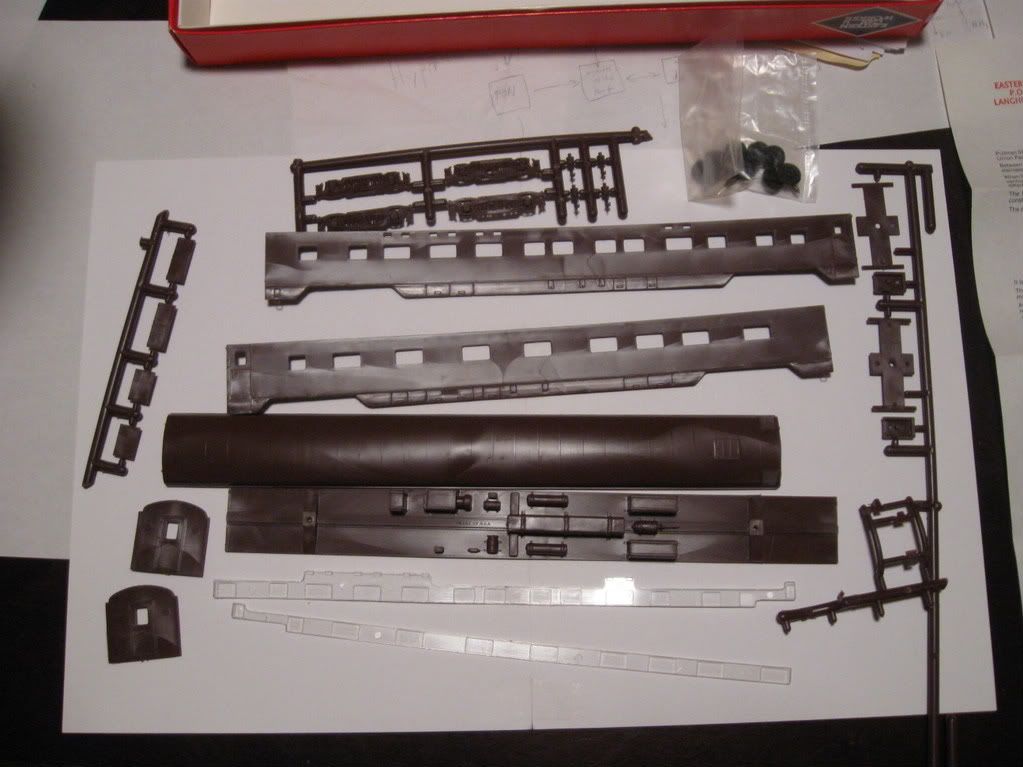
Here is the ECW kit...

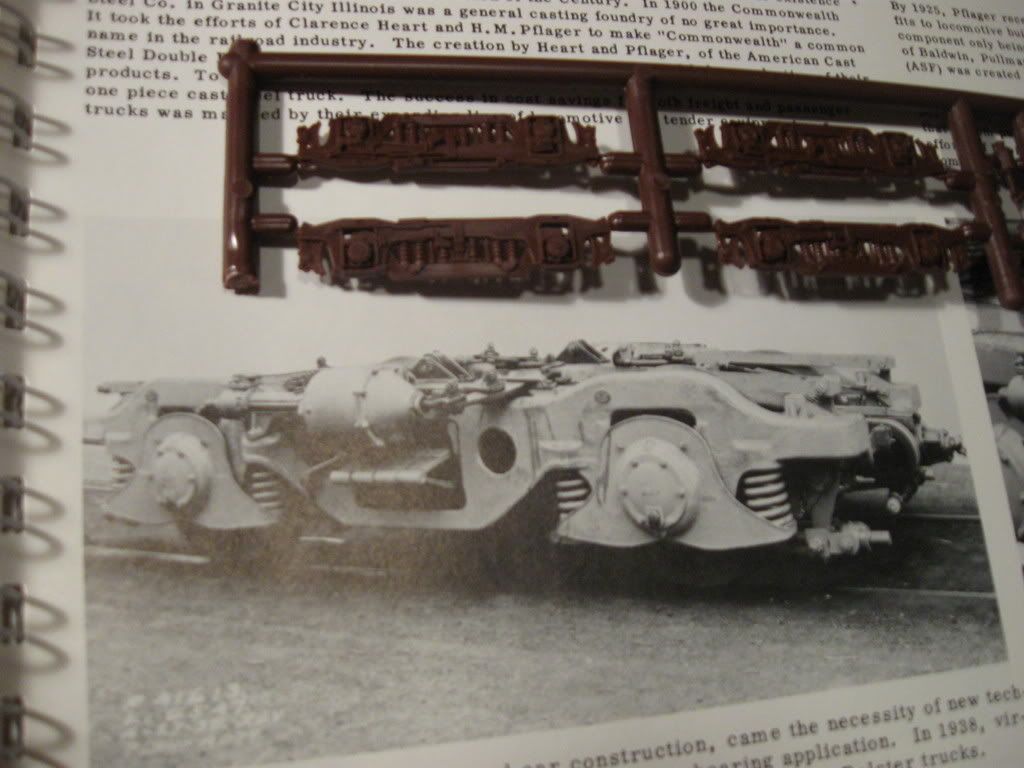
I knew that the trucks were wrong...they are correct for a 1939 or later car, but not for a 1938 car...the '38 cars had unique looking Triple Bolster trucks...which used to be available from MDC/Roundhouse.

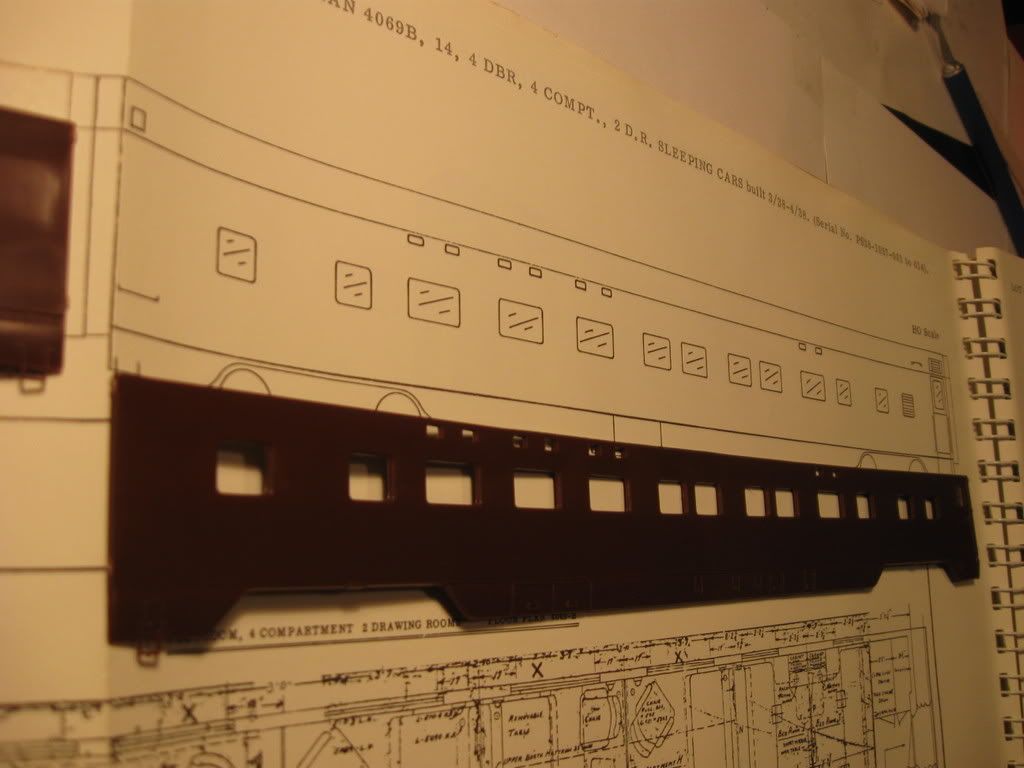
Here is a car side along side the official Pullman drawings...

And the problem...
The windows should be the same height as the stripe on the hudson's tender. The windows are a scale 4.5" too high on the car sides. This really matters because of the striping which runs the length of the train.

Here is a very high quality brass model of a 4-4-2 sleeper in '38 paint. It was produced by Fine Art Models and sold for $2750...1:32 scale.
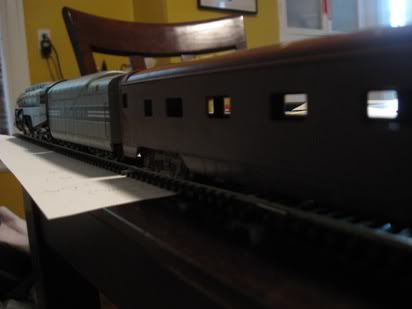
The stripes must line up.

Also, my Champ decals didn't include the striping or the black outlines on the aluminum letters...so I'm going to have to find a source for the striping...or possibly paint it myself with very careful masking. In 1:87.1 scale, a .75" stripe is less than 0.010" wide.

Currently, to fix the window issue, my 4-4-2 is in the process of being hacked to pieces. I'll reassemble it into a correctly proportioned 4-4-2. I'll also build the Chittenango Falls from scratch...and then decide whether to kitbash more ECW kits or scratchbuild. Walthers is coming out with a 1948 Century for $65 per car, which includes a 4-4-2, but that is far more than I am willing to spend on the train...it is worth my time but not much money...I'm a model railroader, not a collector.

The HO NYC cars will be a back burner item.

I'm on the fence on what to do about my 2-8-0 project. I've invested $55 in the motor...and now I've heard back from Grandt Line and the gearing will run around $60-$60. The drivers cost me $50. The Soundtraxx Tsunami (digital controls and sound) will run a little over $100...and so this engine is rapidly approaching $300. Ouch. My next engine will be build with a 37:1 gearbox for $15 and a $15 motor...and maybe just a $20 chip for digital control...no sound.

Sunday, February 8, 2009

A completed SUF car & such...

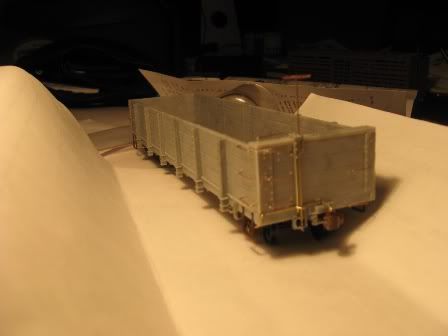
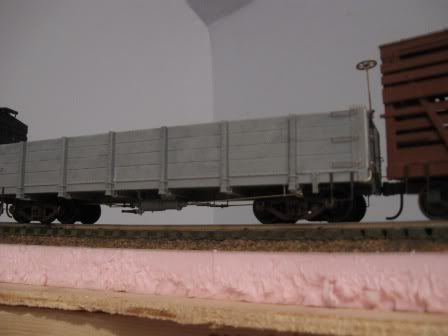
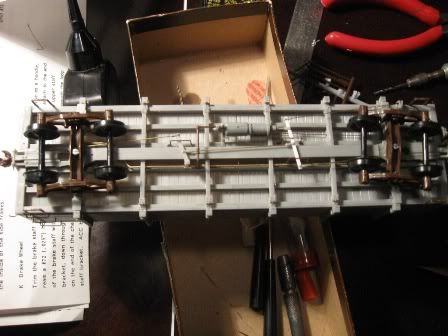
Here is the completed SUF coal car.


The white brake lever was a replacement for the original that went "snap". Of course, the brake staff is removable...a lesson I've learned a couple times before. I'm going to wash it, chemically blacken the grab brass parts, and then paint it.


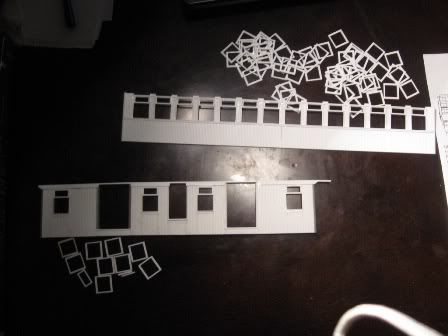
With that out of the way, I completed the windows for my passenger cars. I'm glad to be working on them again.
There are enough windows for three cars in that picture. All are cleaned up and ready to paint.


Liam is showing quite a bit of interest in his OO scale Thomas trains. My side of the family saw him in action on Saturday...intently following Thomas...almost rolling over to keep an eye on him. Clearly, we must be doing something right as parents so far. On the same day, I learned that whistles and my nephew Evan are a bad combination. I let 4yr old Evan run some trains in TrainZ...and he insisted on holding the whistle for minutes at a time. He also insisted on using a "diesel"...hopefully he will learn (diesel = devil).

Wednesday, February 4, 2009

Assembly of SUF coal car is complete

The car is awaiting a trip to the paint shop. I'll then take the builder's photo. I'll post some photos of the completed -but not yet painted- car later.

I enlarged a set of 1:48 scale drawings of a South Park Cooke 2-6-0 to 1:20.3 for Liam's CC 2-6-0. I've examined the chassis and I'm trying to decide if I should increase the driving spacing for the lead drivers...they are currently 4'6"-4'6" spacing, but should be 5'-4'6" spacing. I won't have to alter the motor-gear-rear driver arrangement, but it will affect the sound cam.

I'm looking forward to getting back to my passenger car projects and preparing the mold for my 2-8-0 domes.